Home Forum Blog Private Support Courses

FEATURES

Your gadget comes with a stock recovery mode by default. While this enables you to perform simple tasks like installing Over The Air (OTA) updates, Factory reset and backup, its very limited and can be unreliable at times. These are the problems that OFRP solves.
iphone Image

Flash Custom Scripts

Flash scripts in zip format e.g Magisk for root access, Multi disabler to disable FBE (file-based encryption), Vaultkeeper, Process authentication, wsm, Stock recovery auto-restoration etc

Install Custom ROMs

Custom ROMs can enhance your gadget by fixing existing bugs, de-bloating (to free up resources), disabling limiting securities (e.g RW) and adding awesome features for a sleek experience.

Easy Backup & Restore

Custom recoveries like OFRP make universal backups that you and other devices can restore. You can backup select or all partitions, giving you a truly customized backup & restore experience.

Device Management

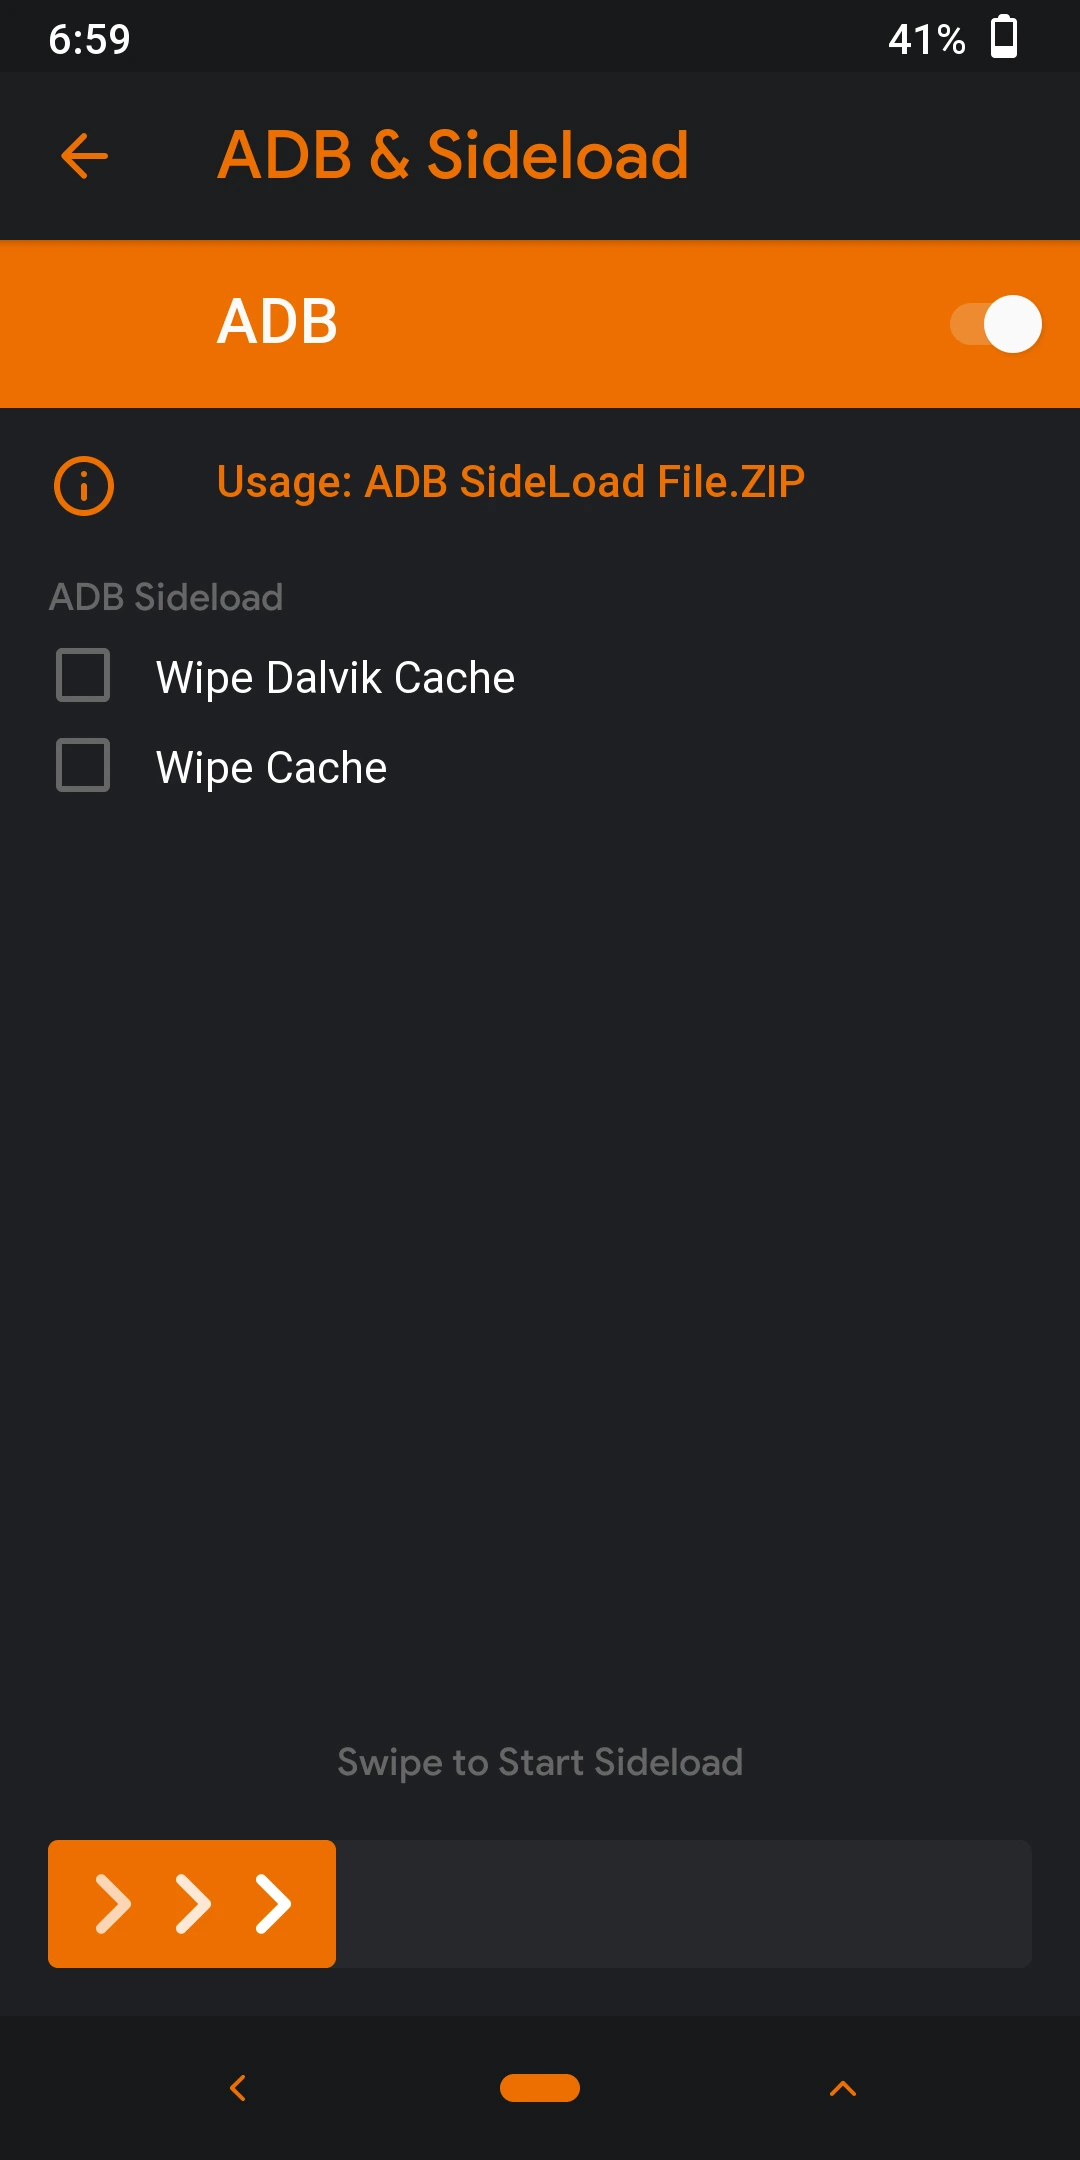
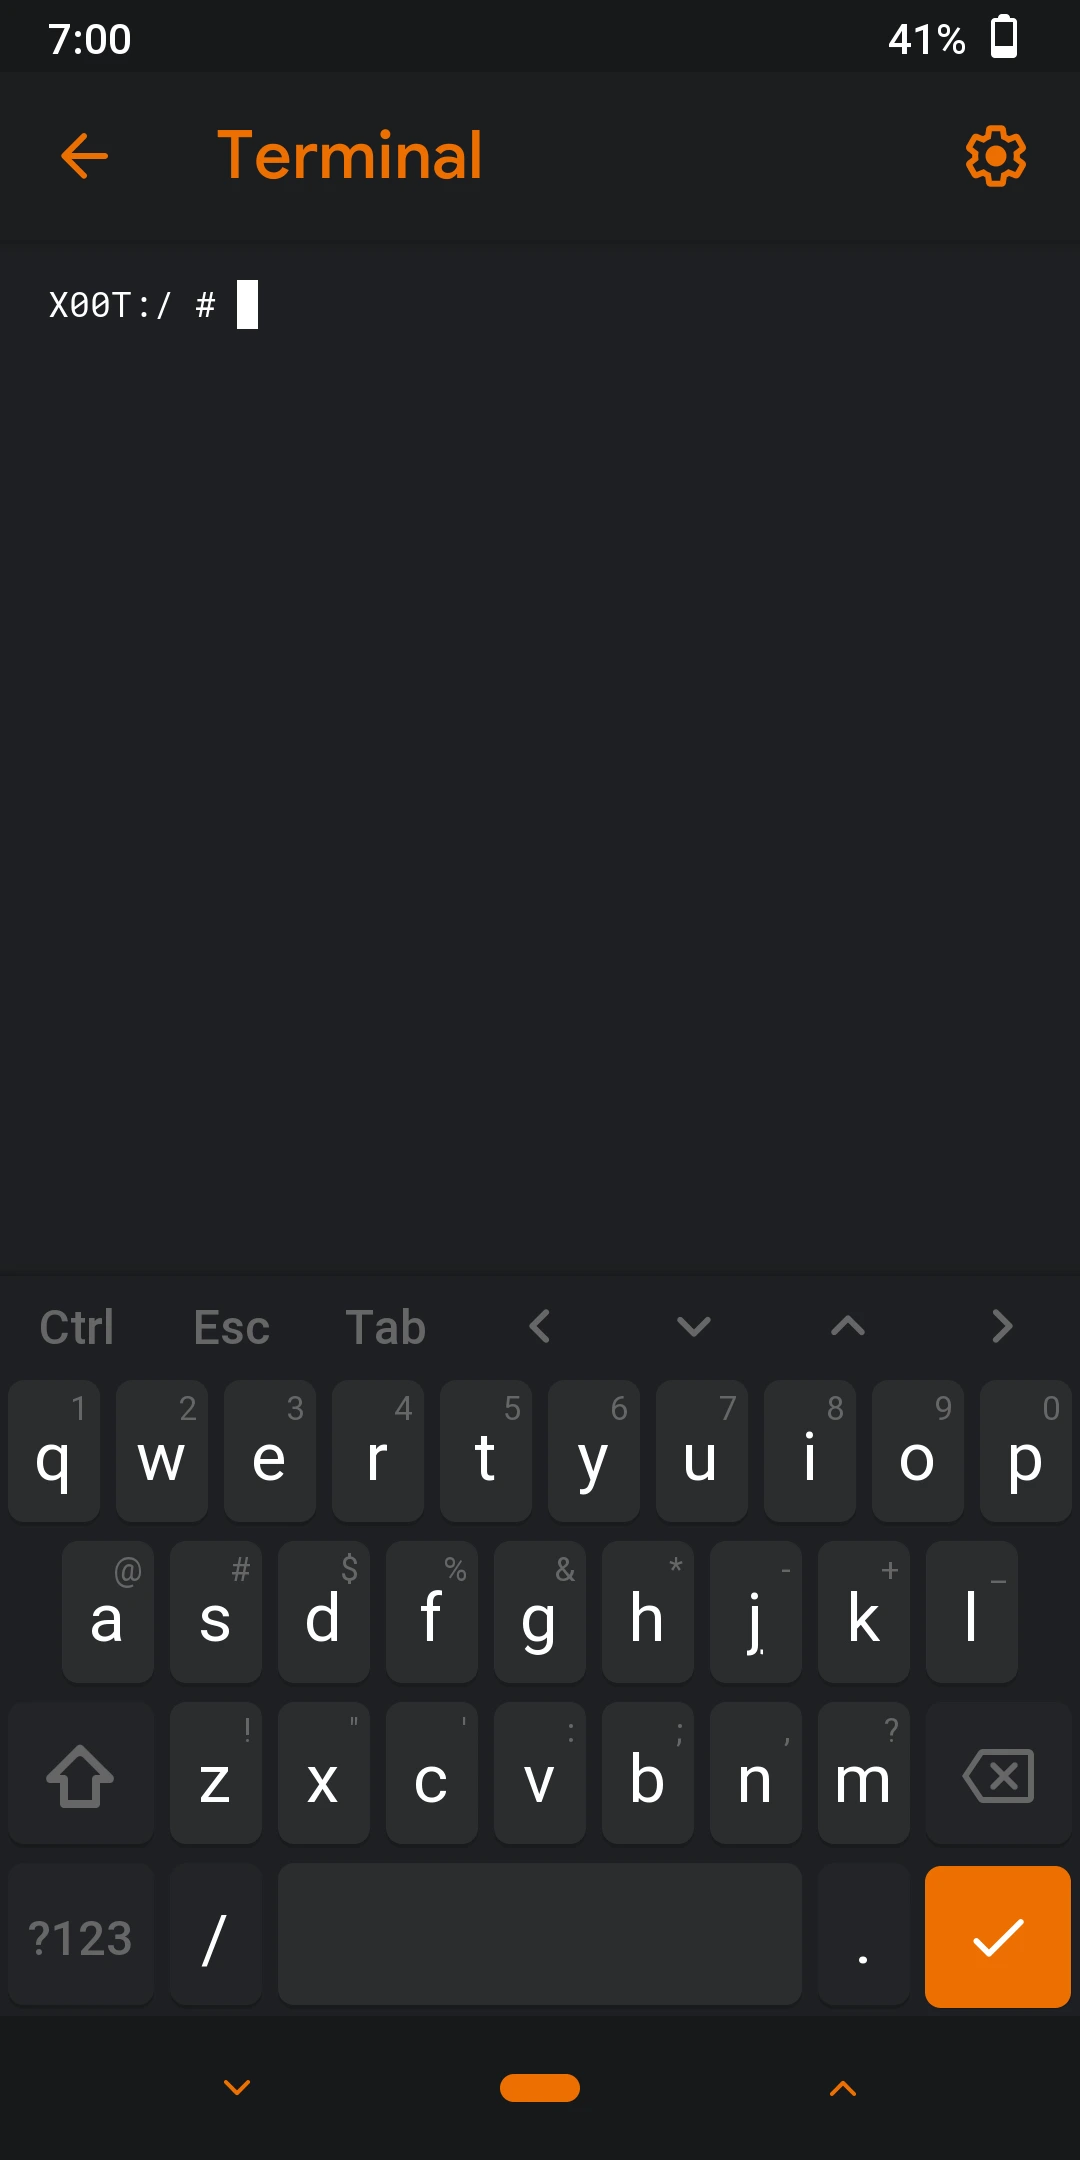
Functions like Terminal access, ADB Root shell, ADB Sideload, Partition Management, File Manager, Fix Permissions etc enable you to make or reverse desired modifications and fix issues.

Watch Video Tutorial

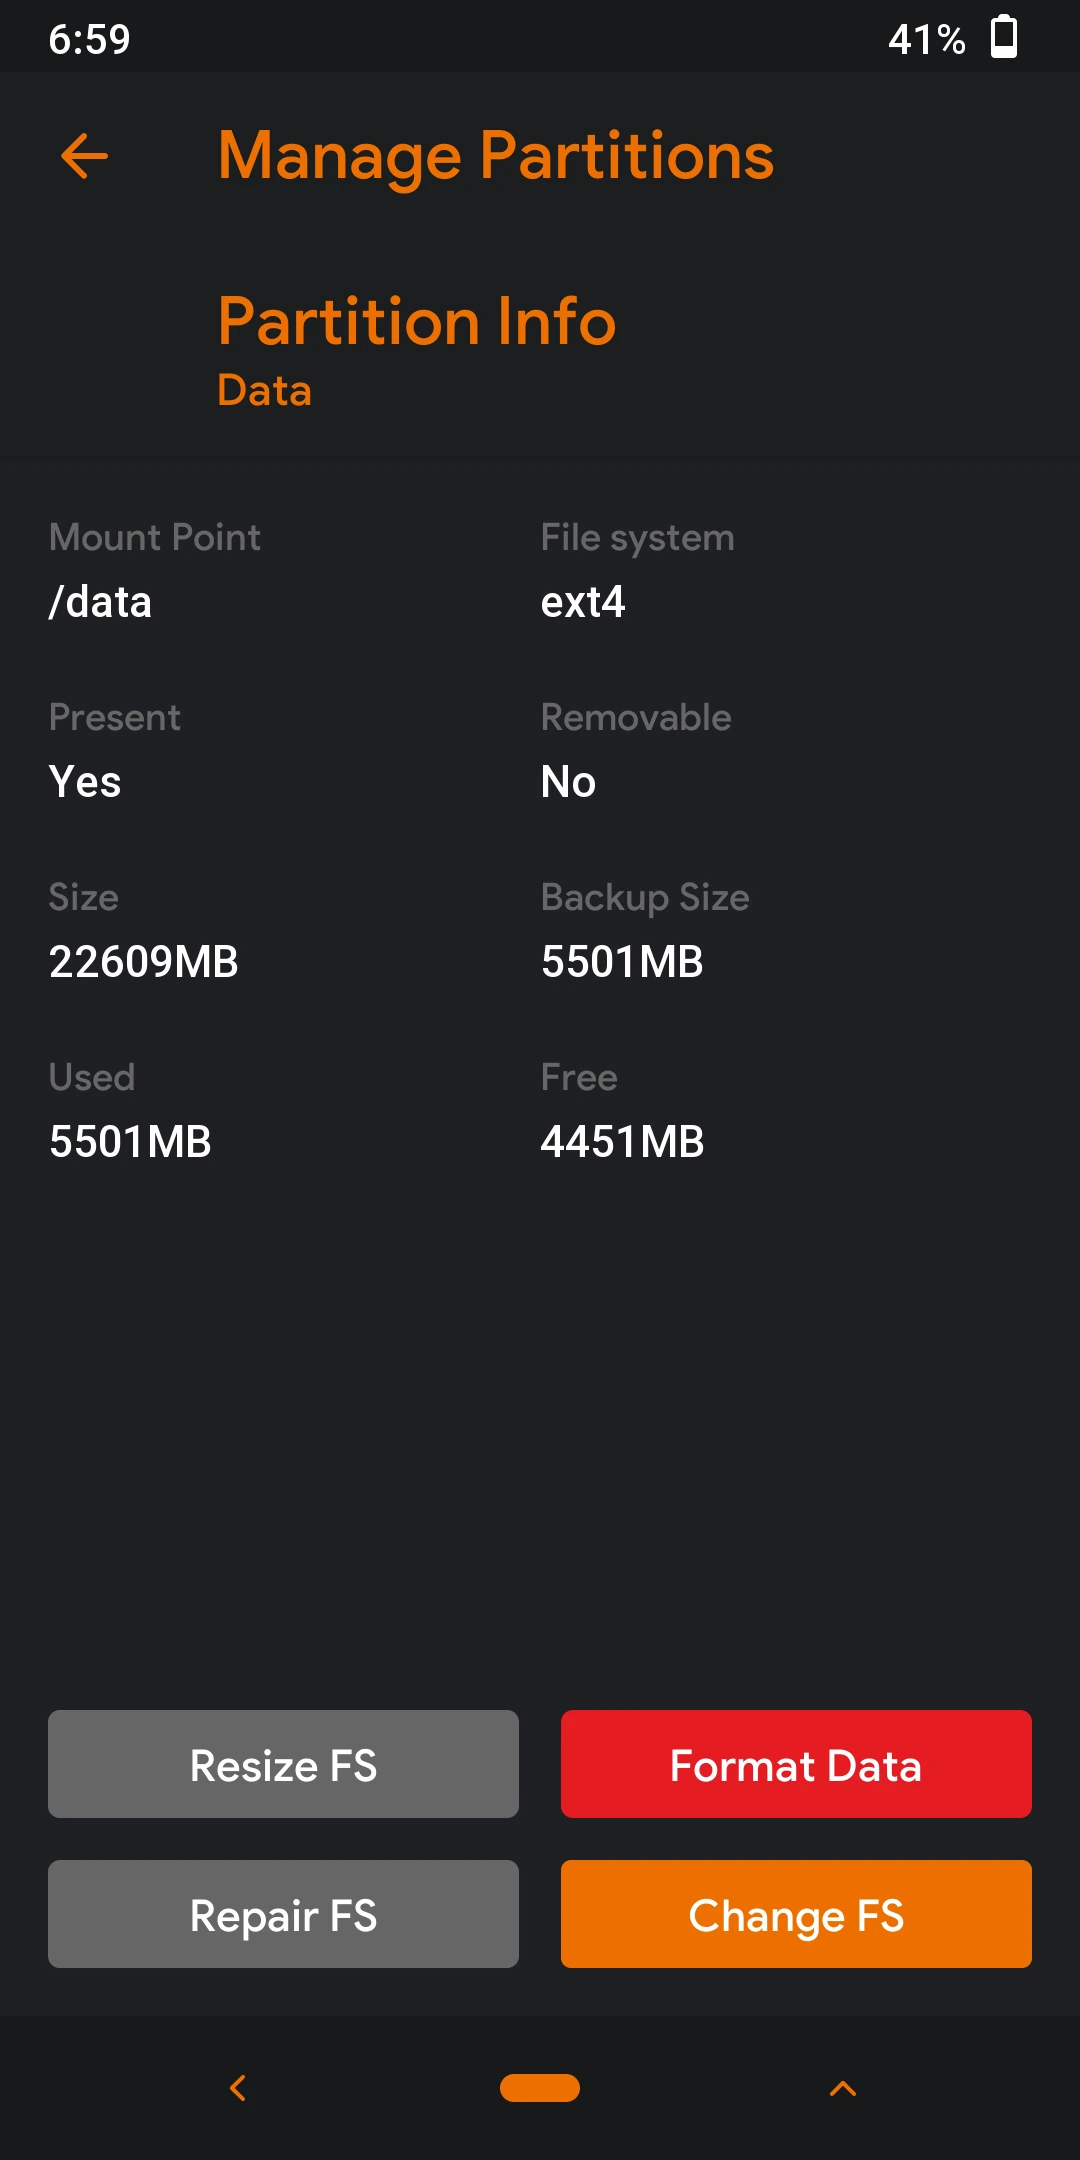
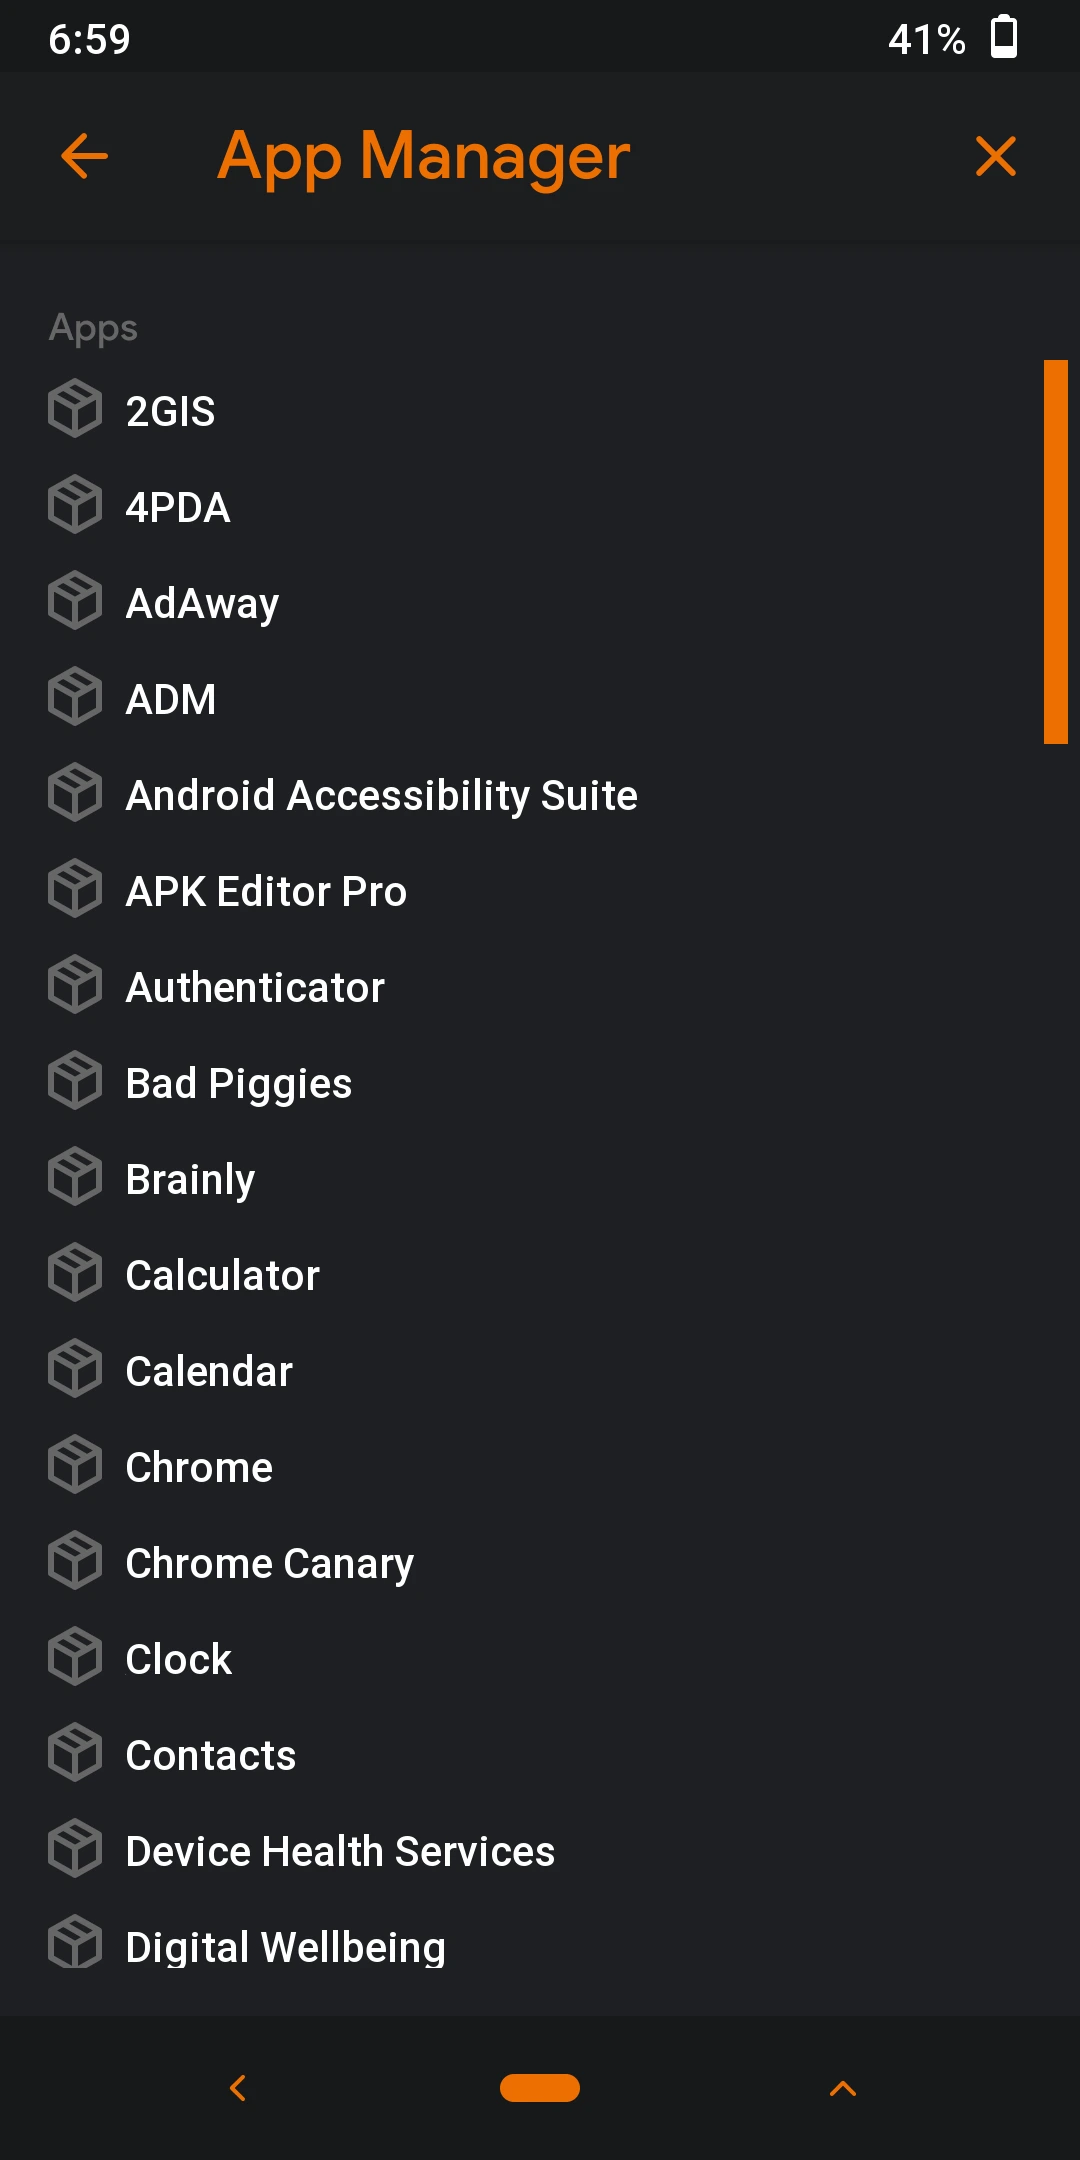
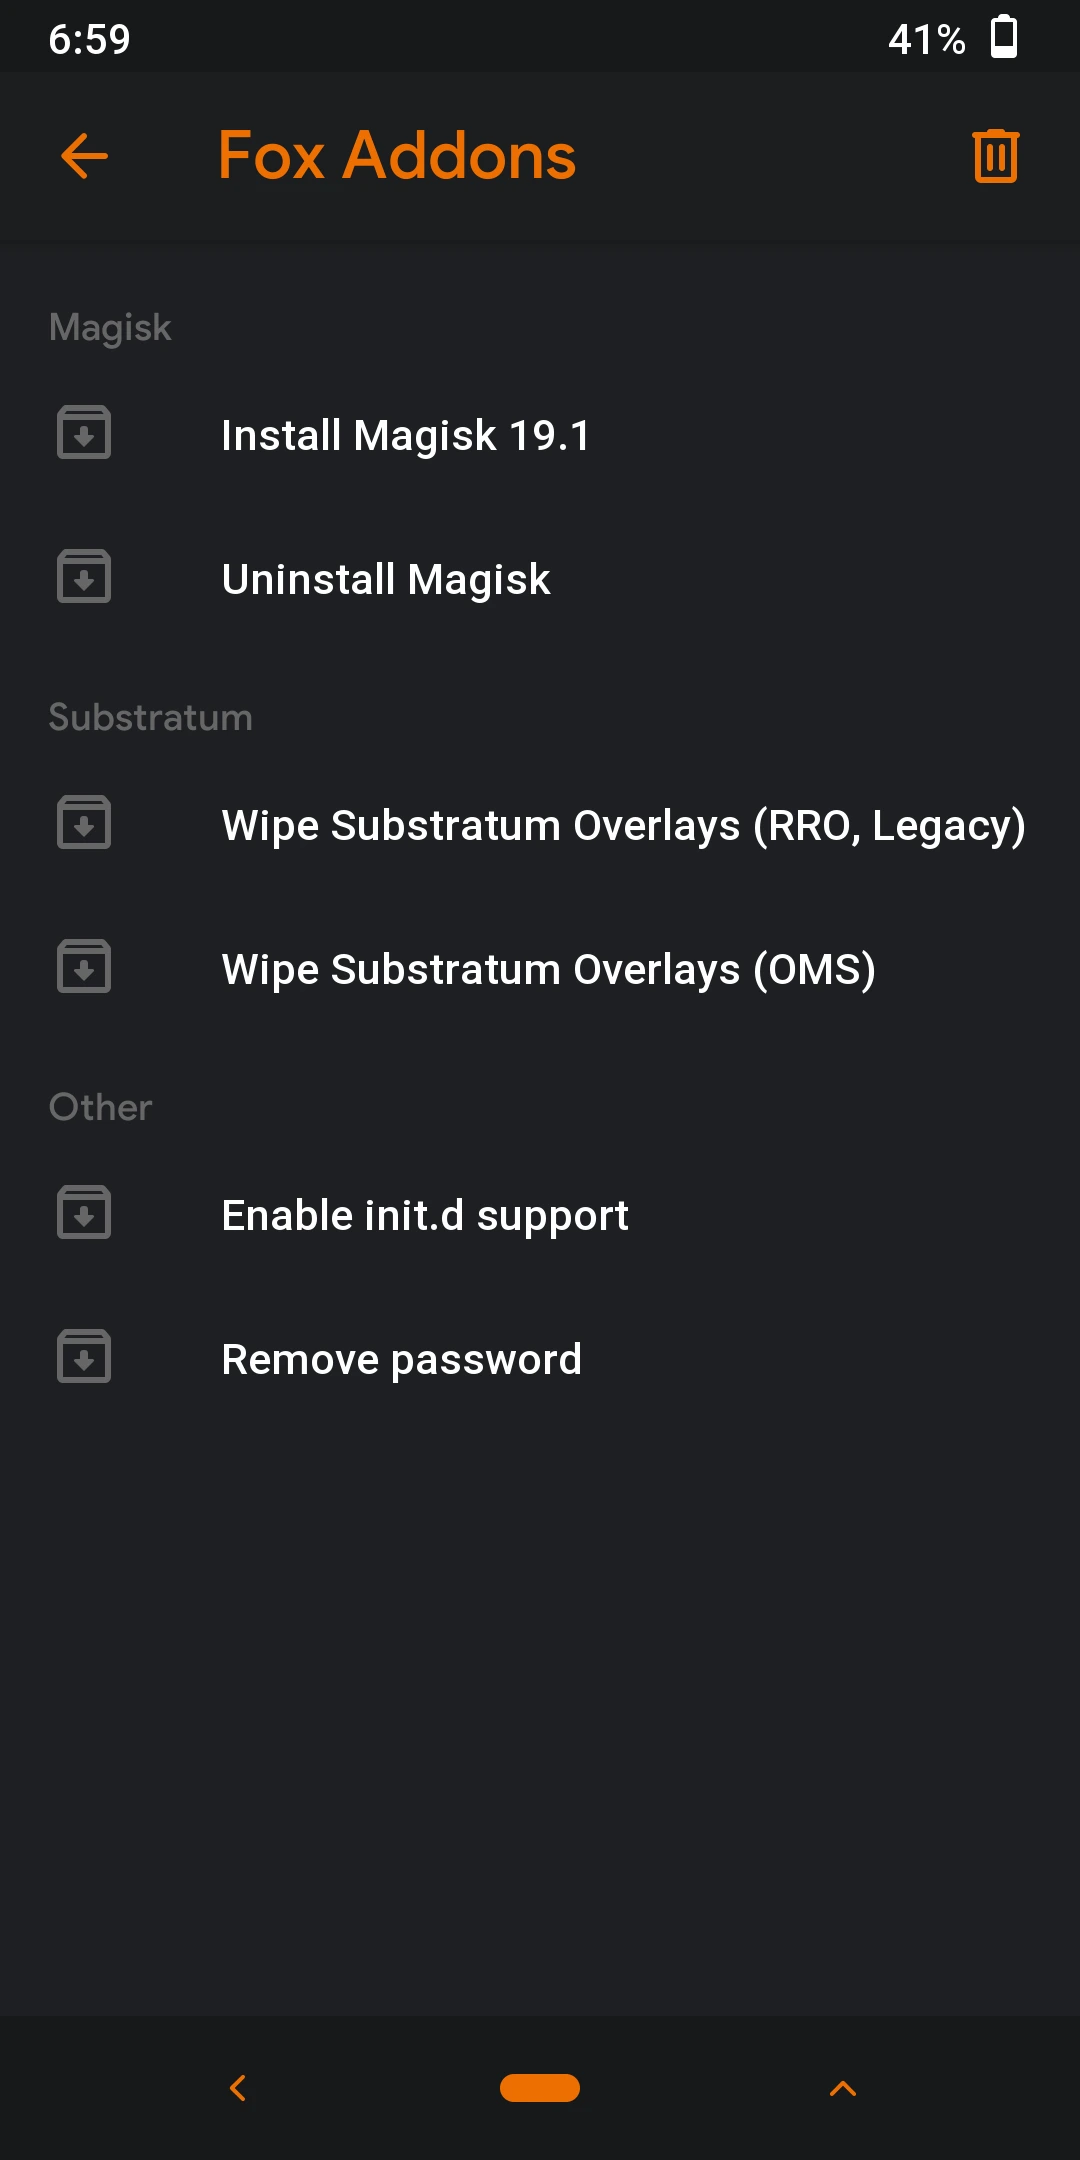
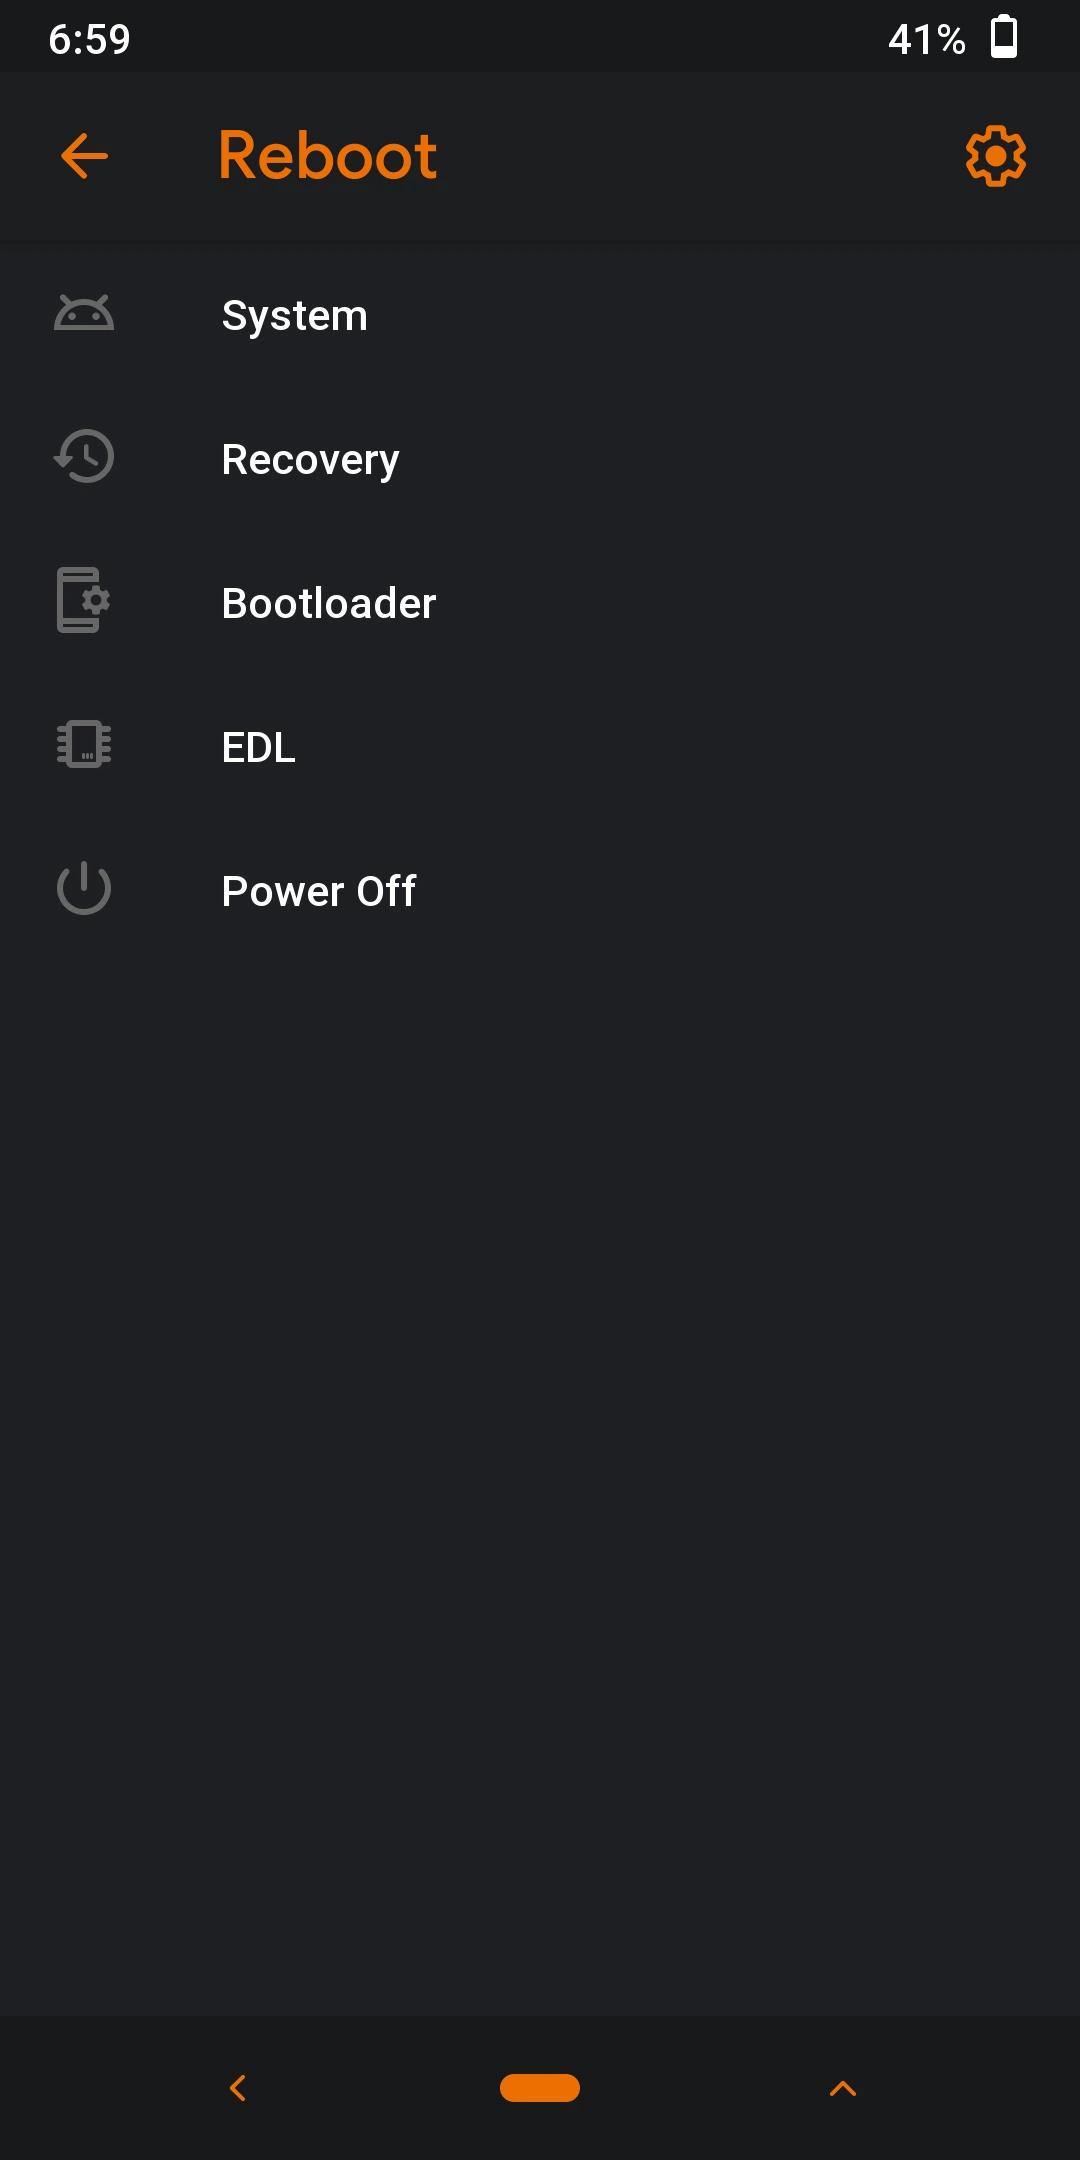
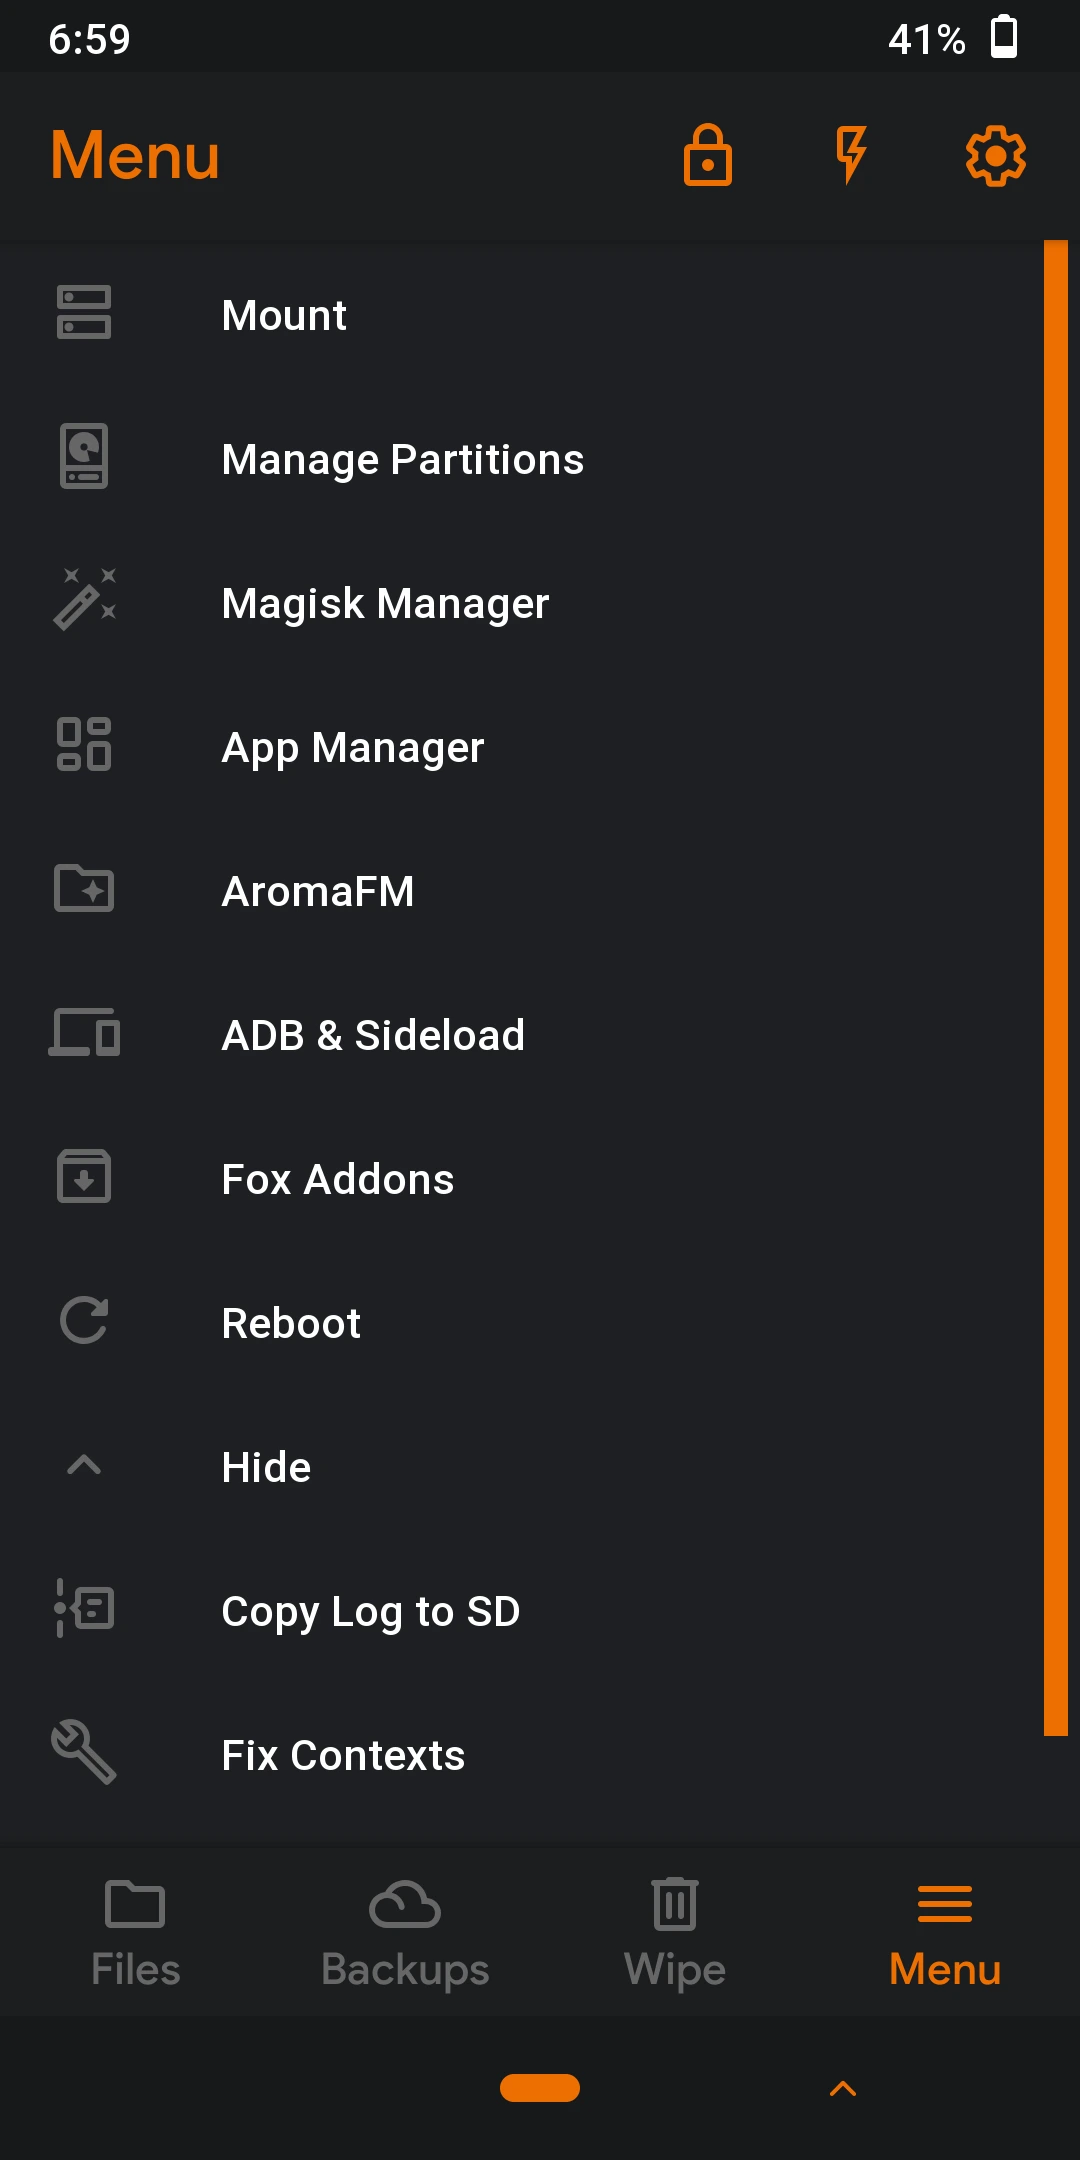
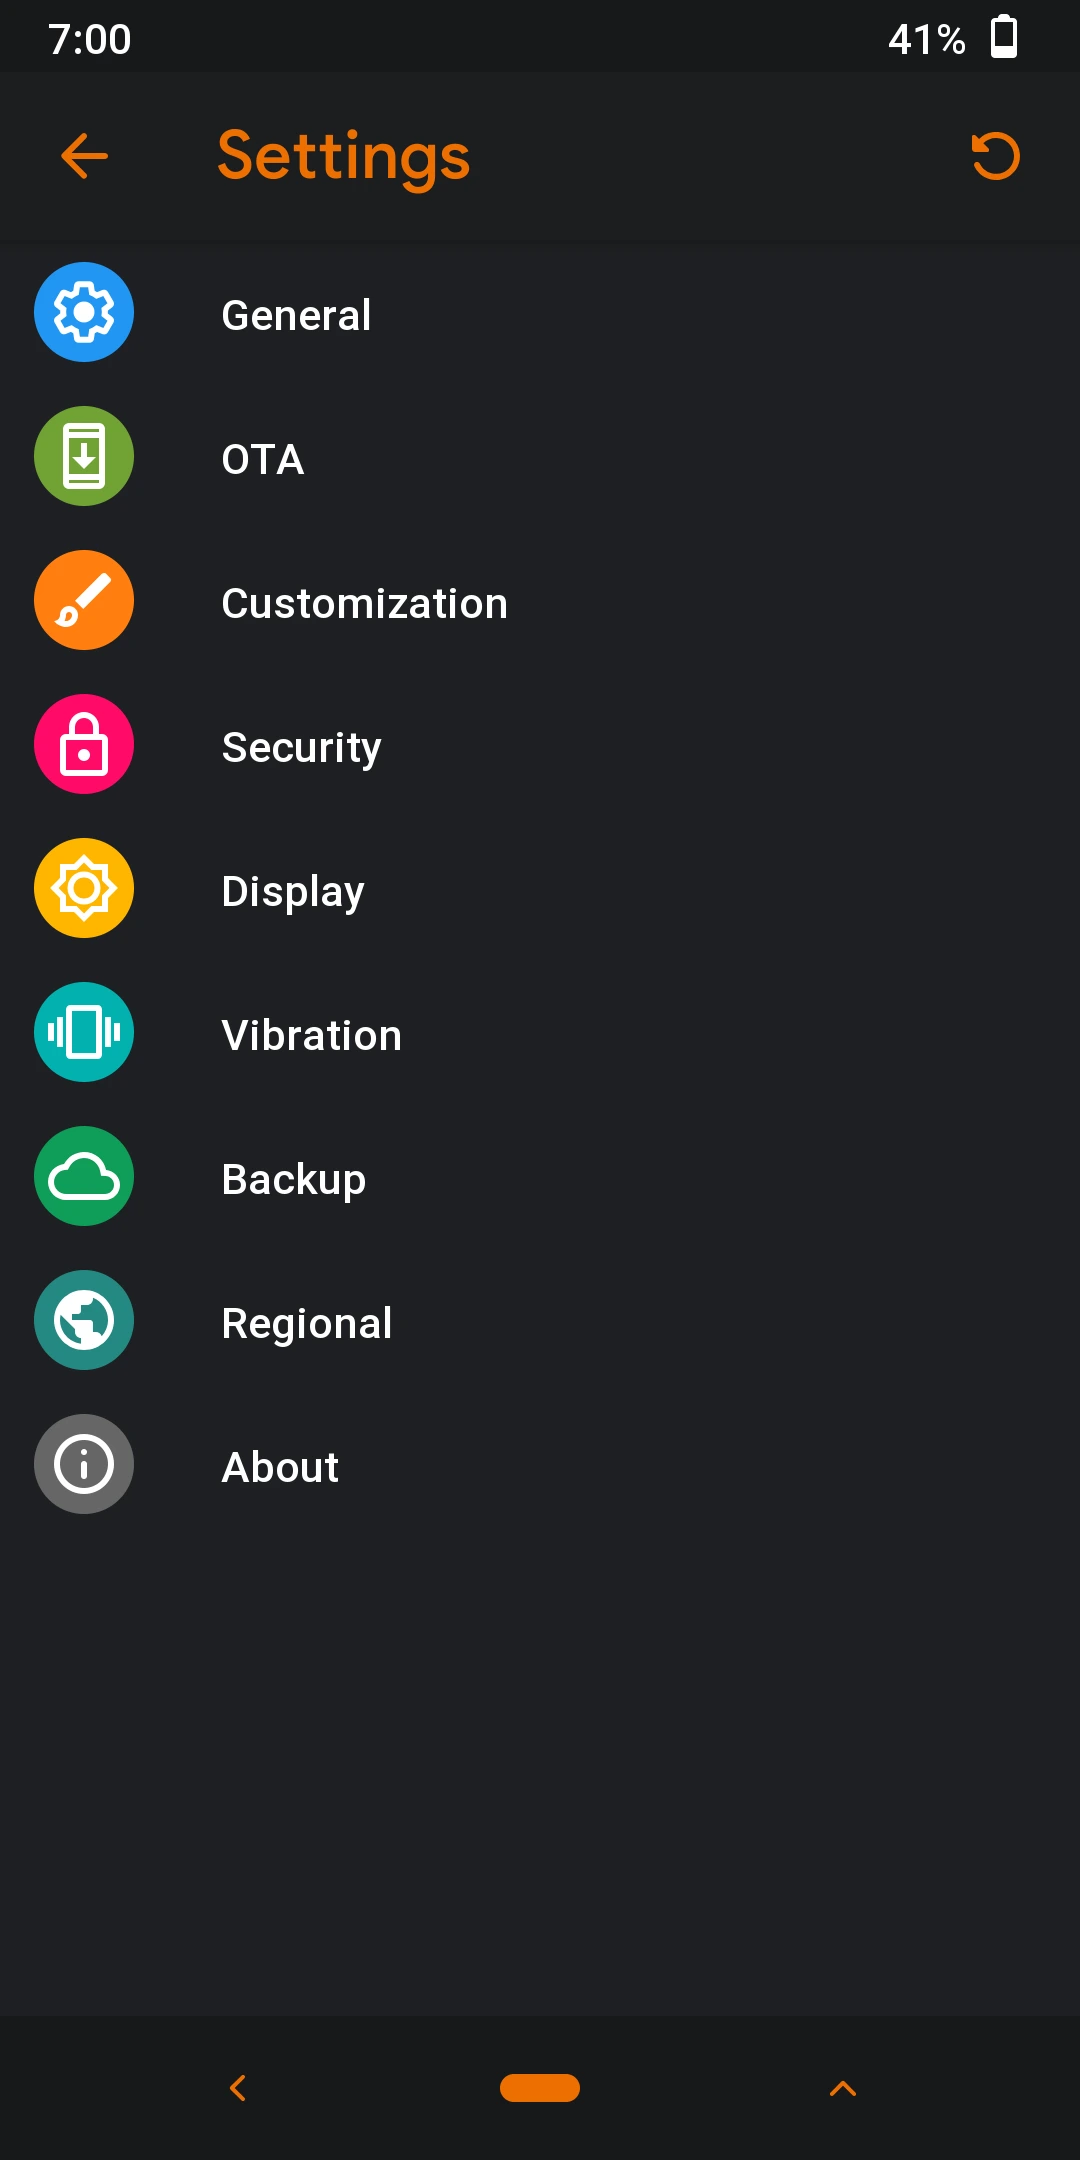
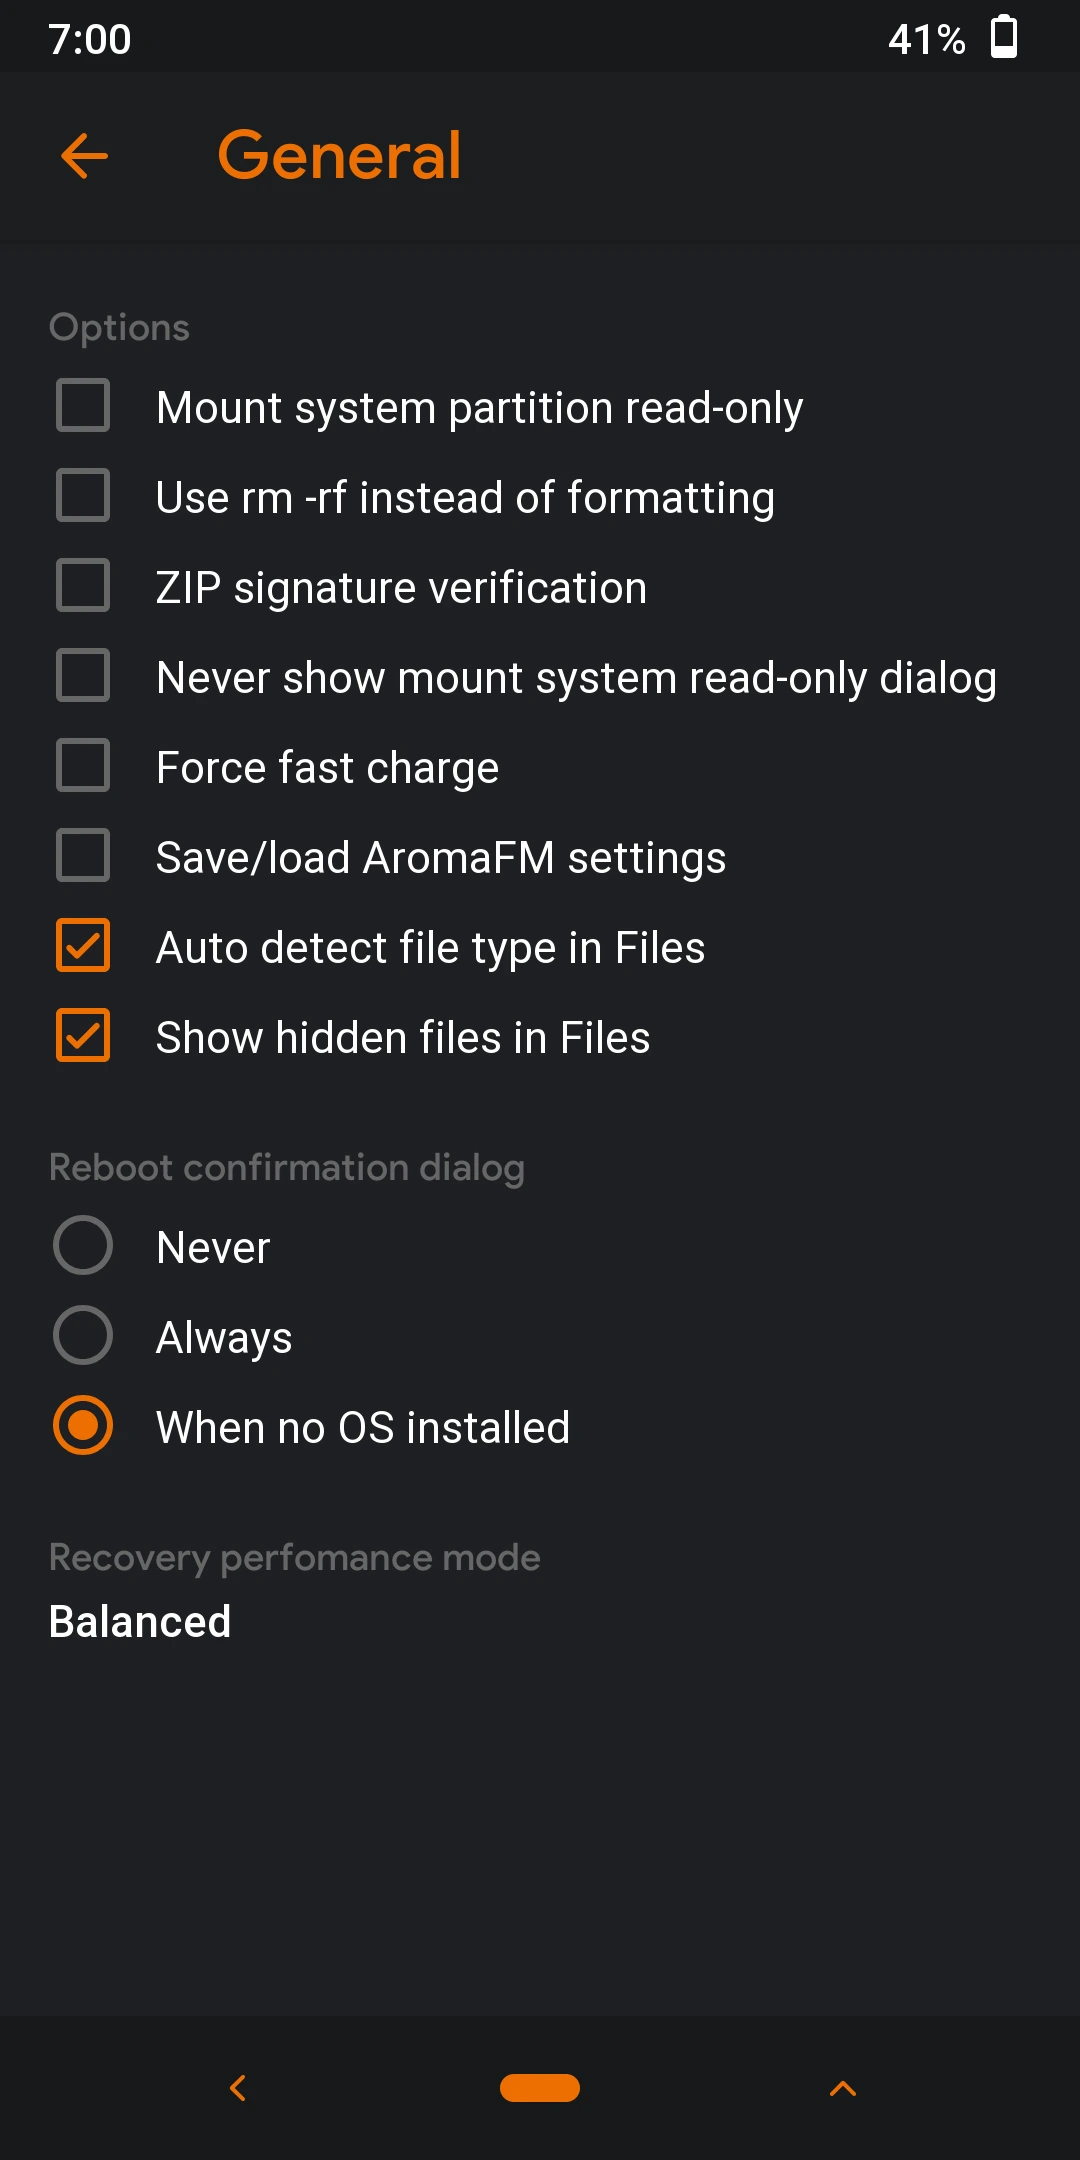
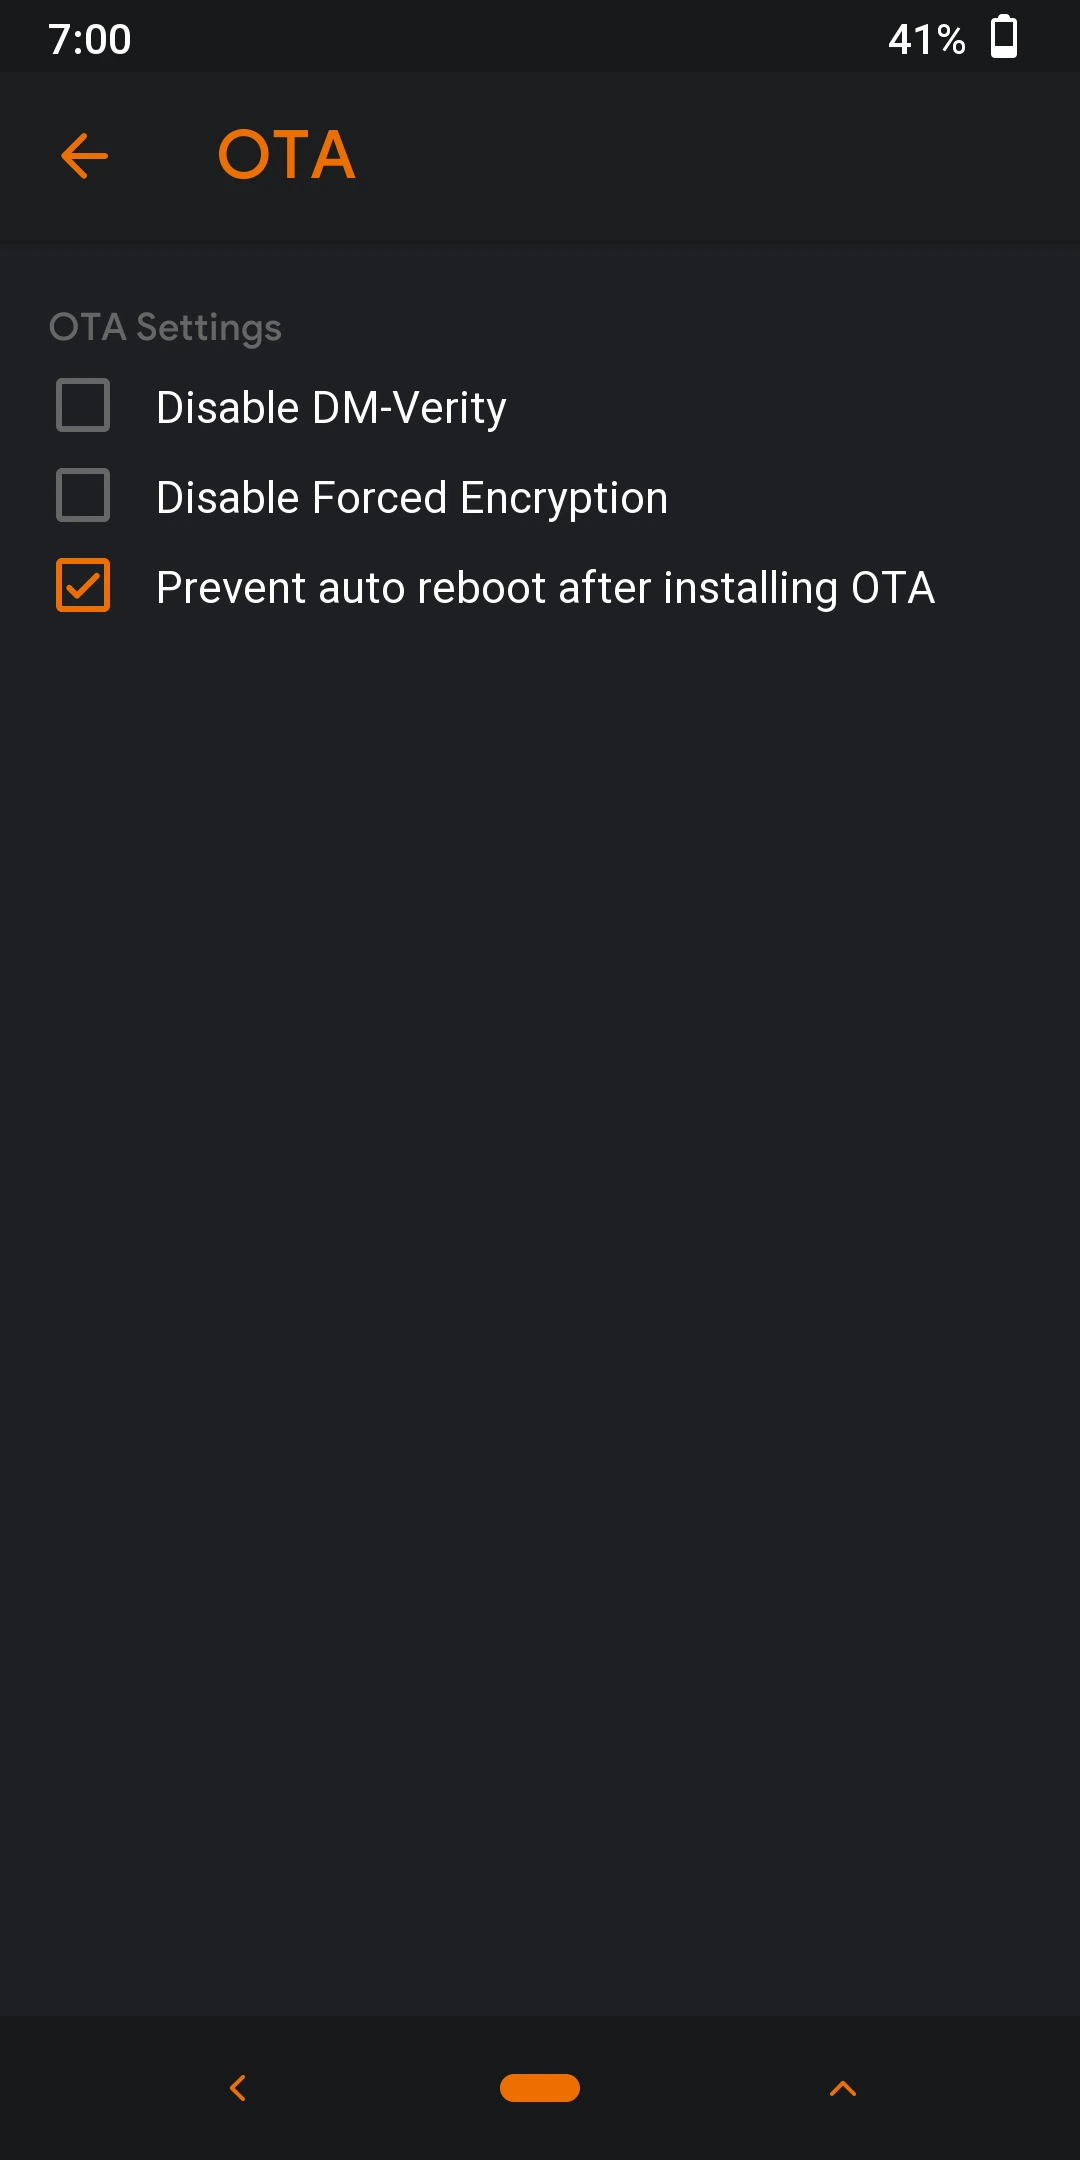
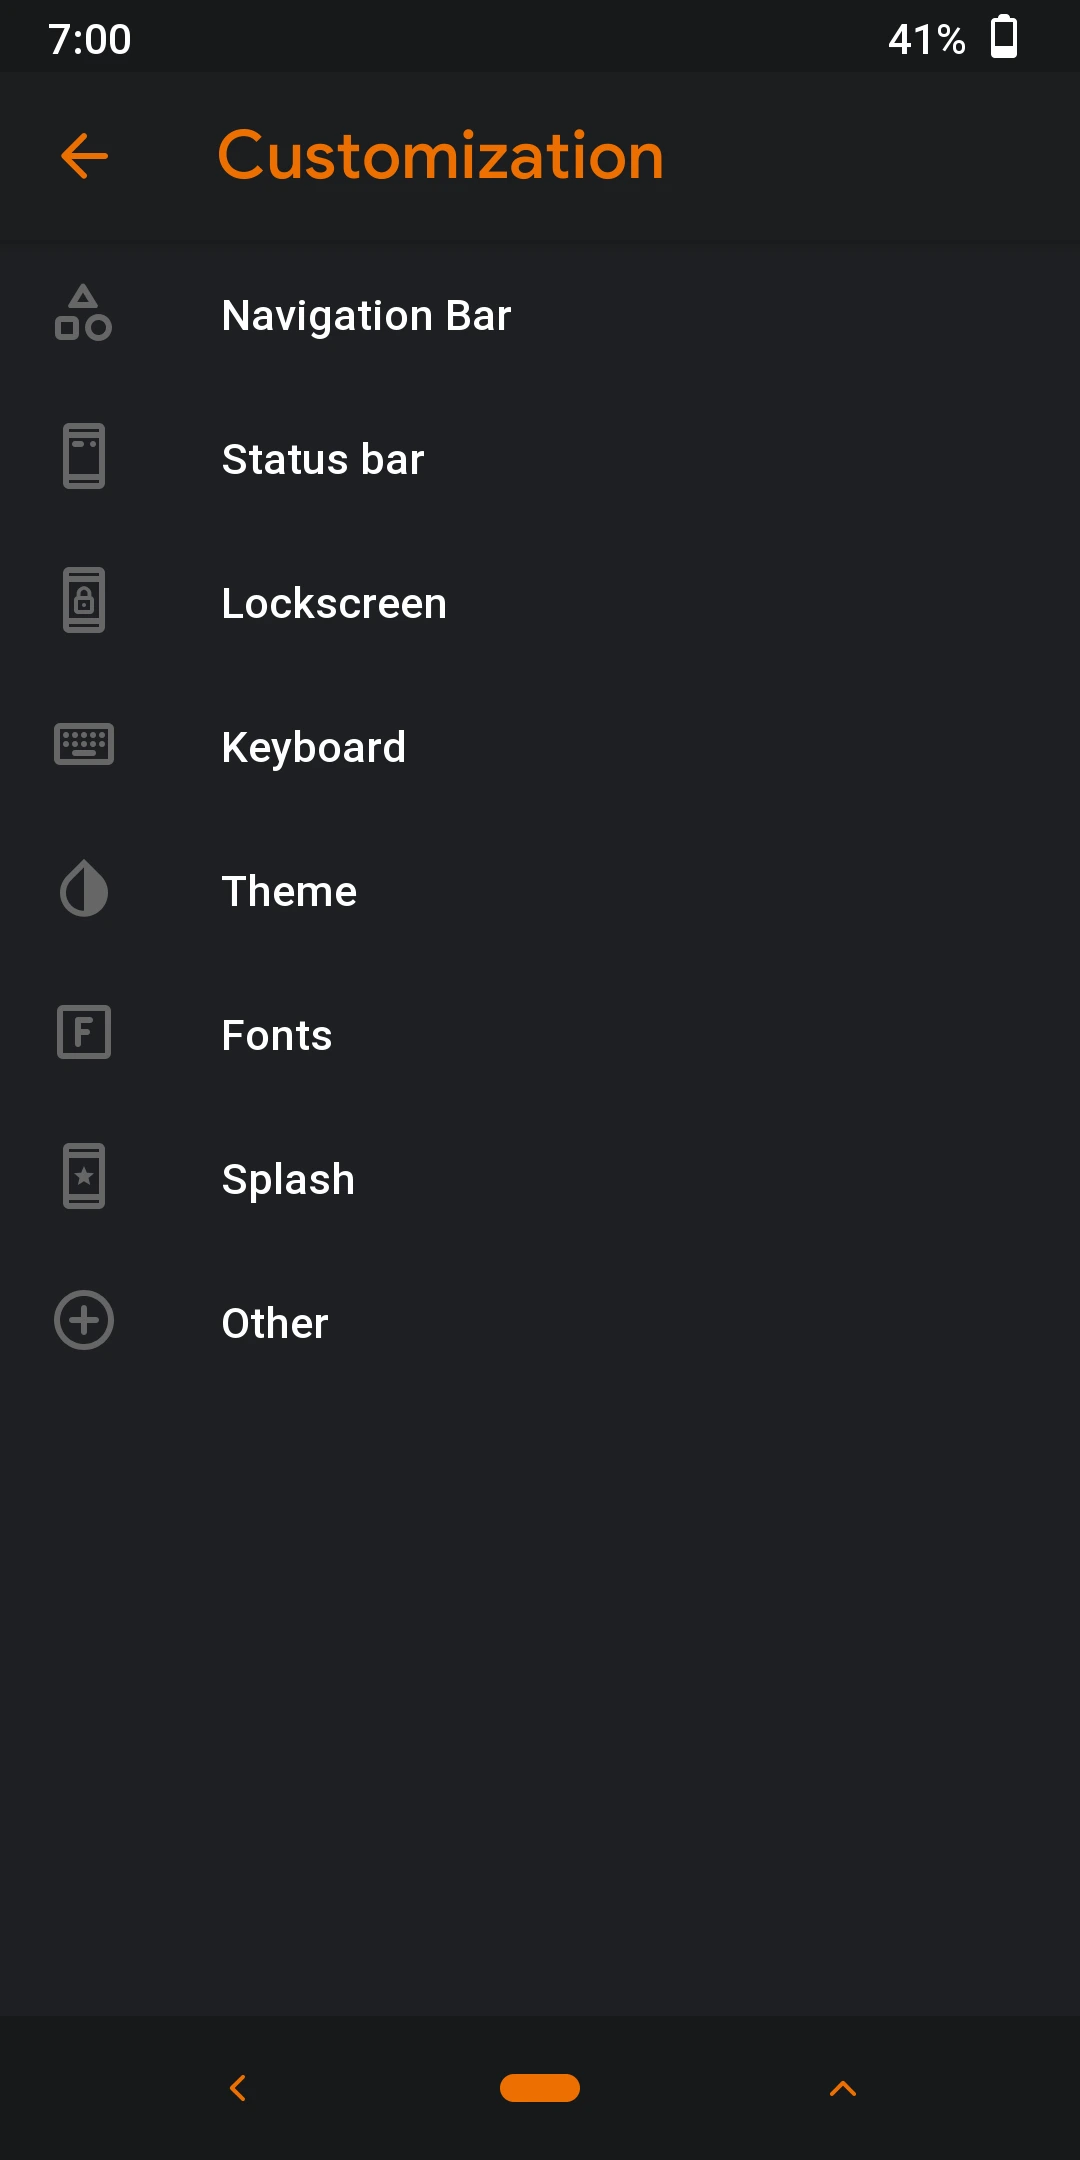
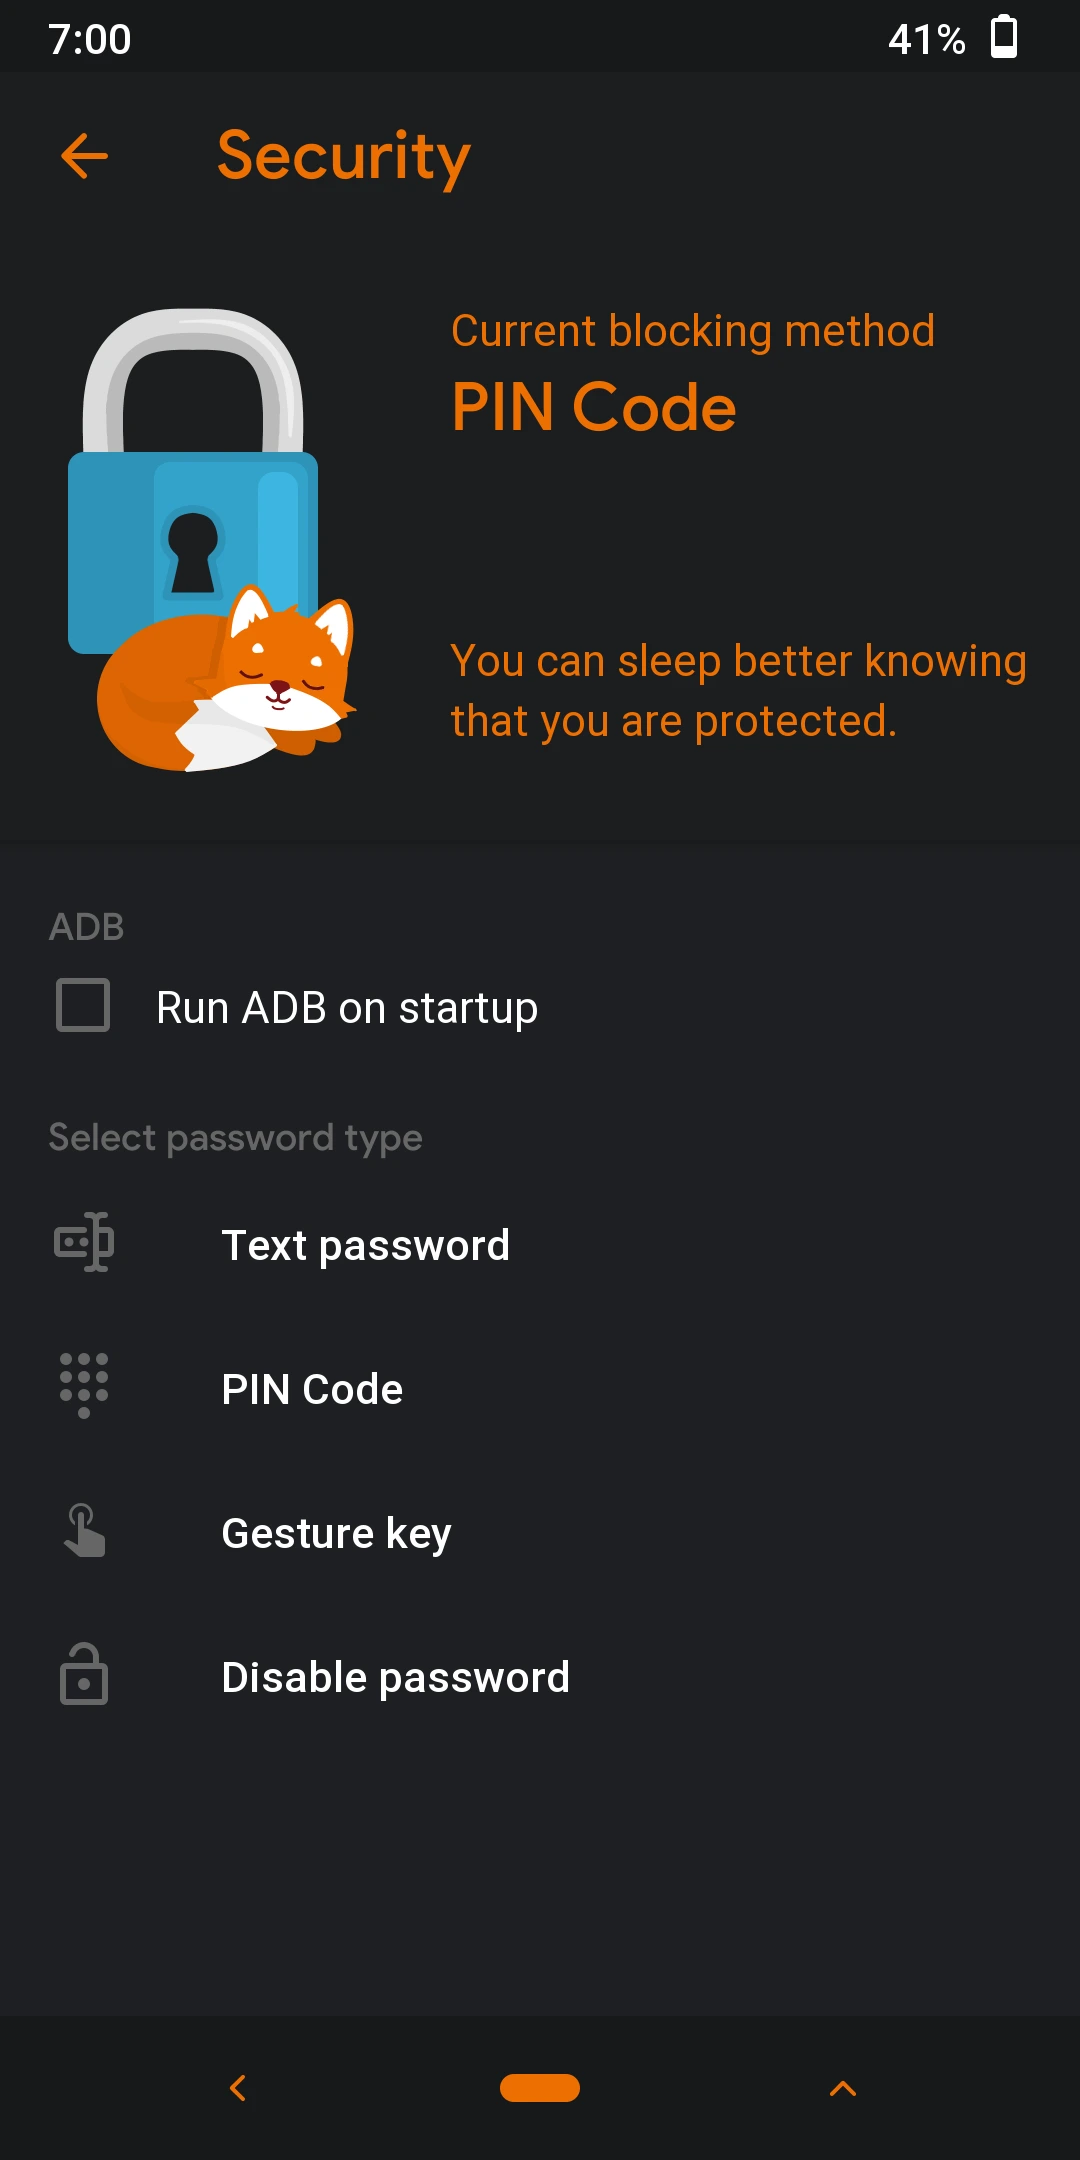
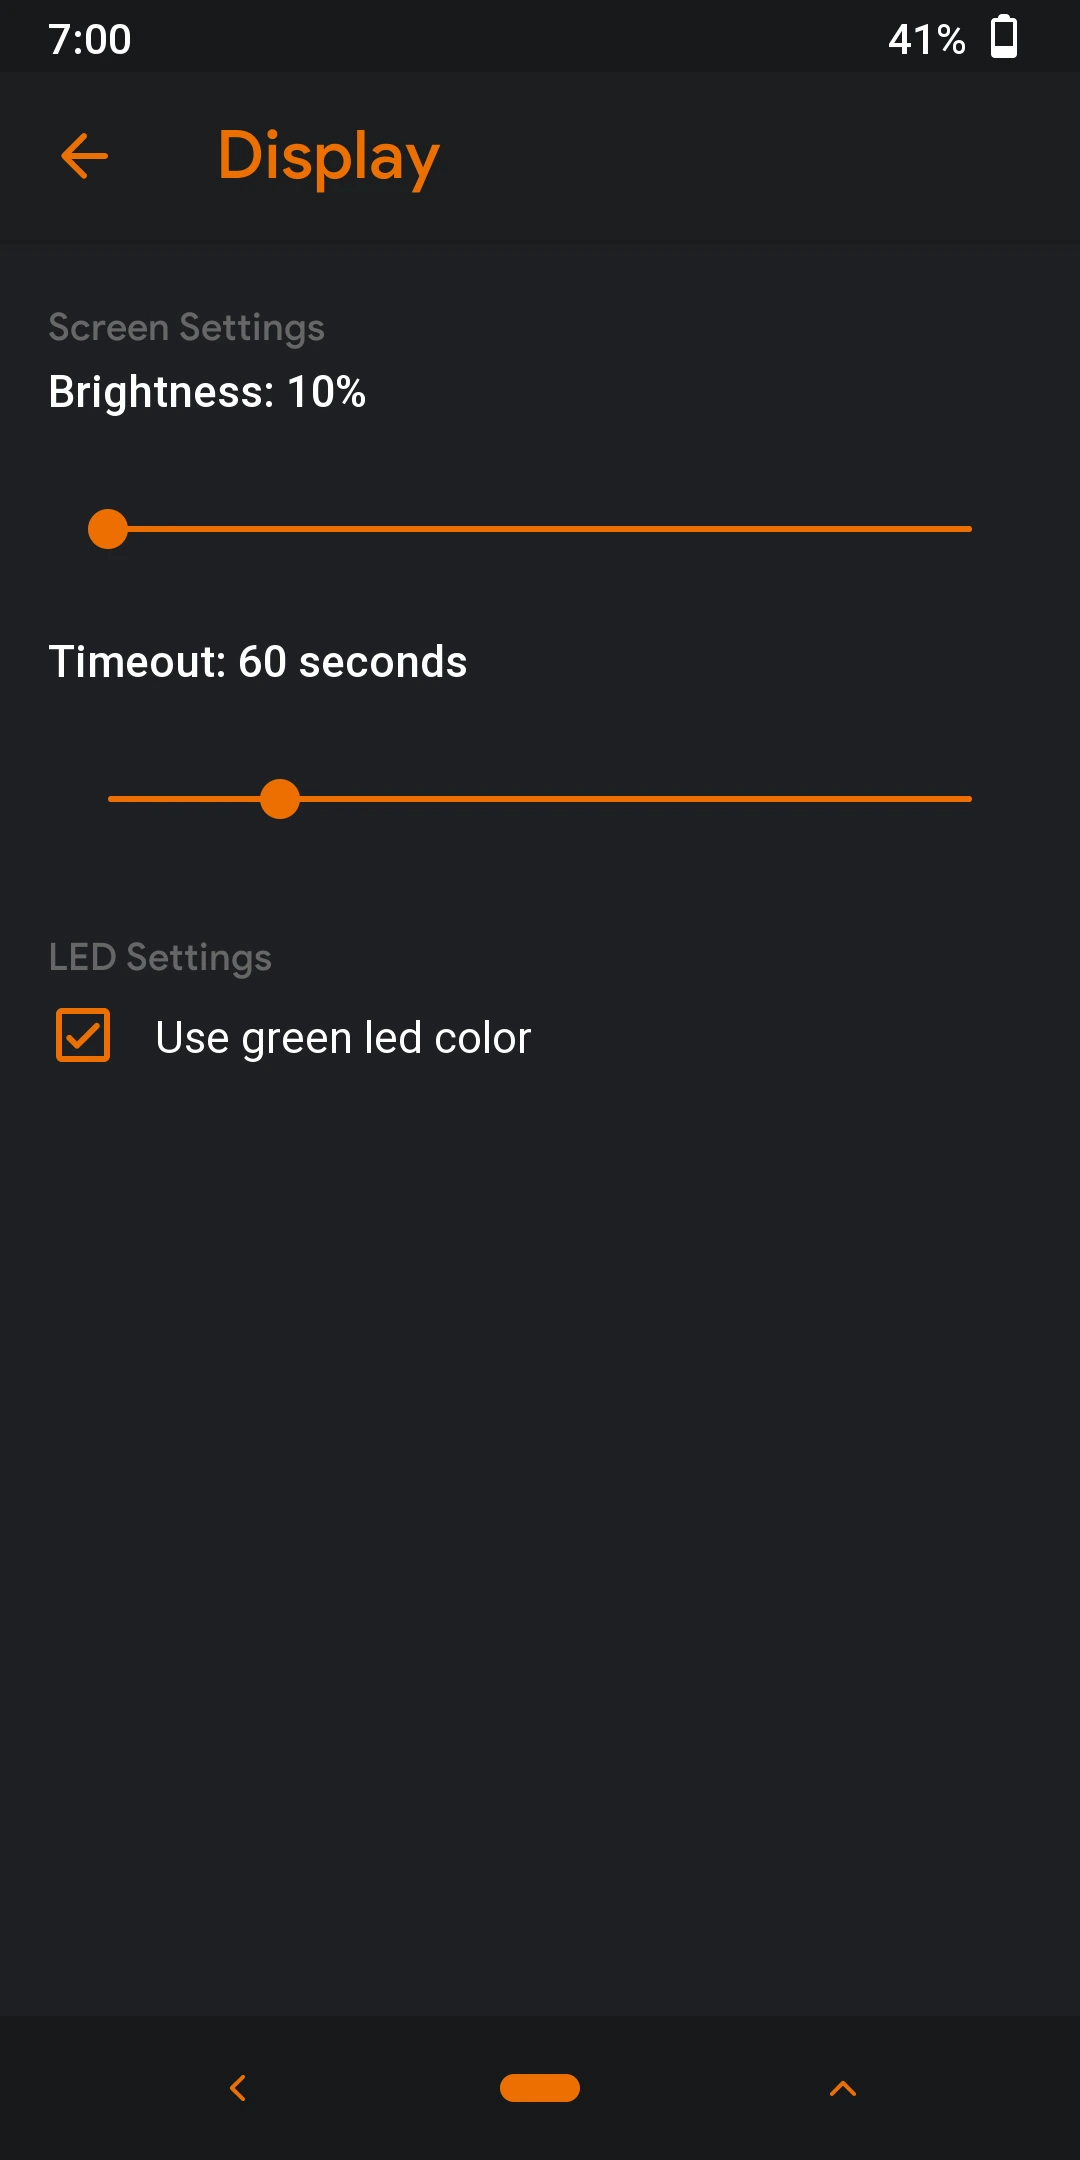
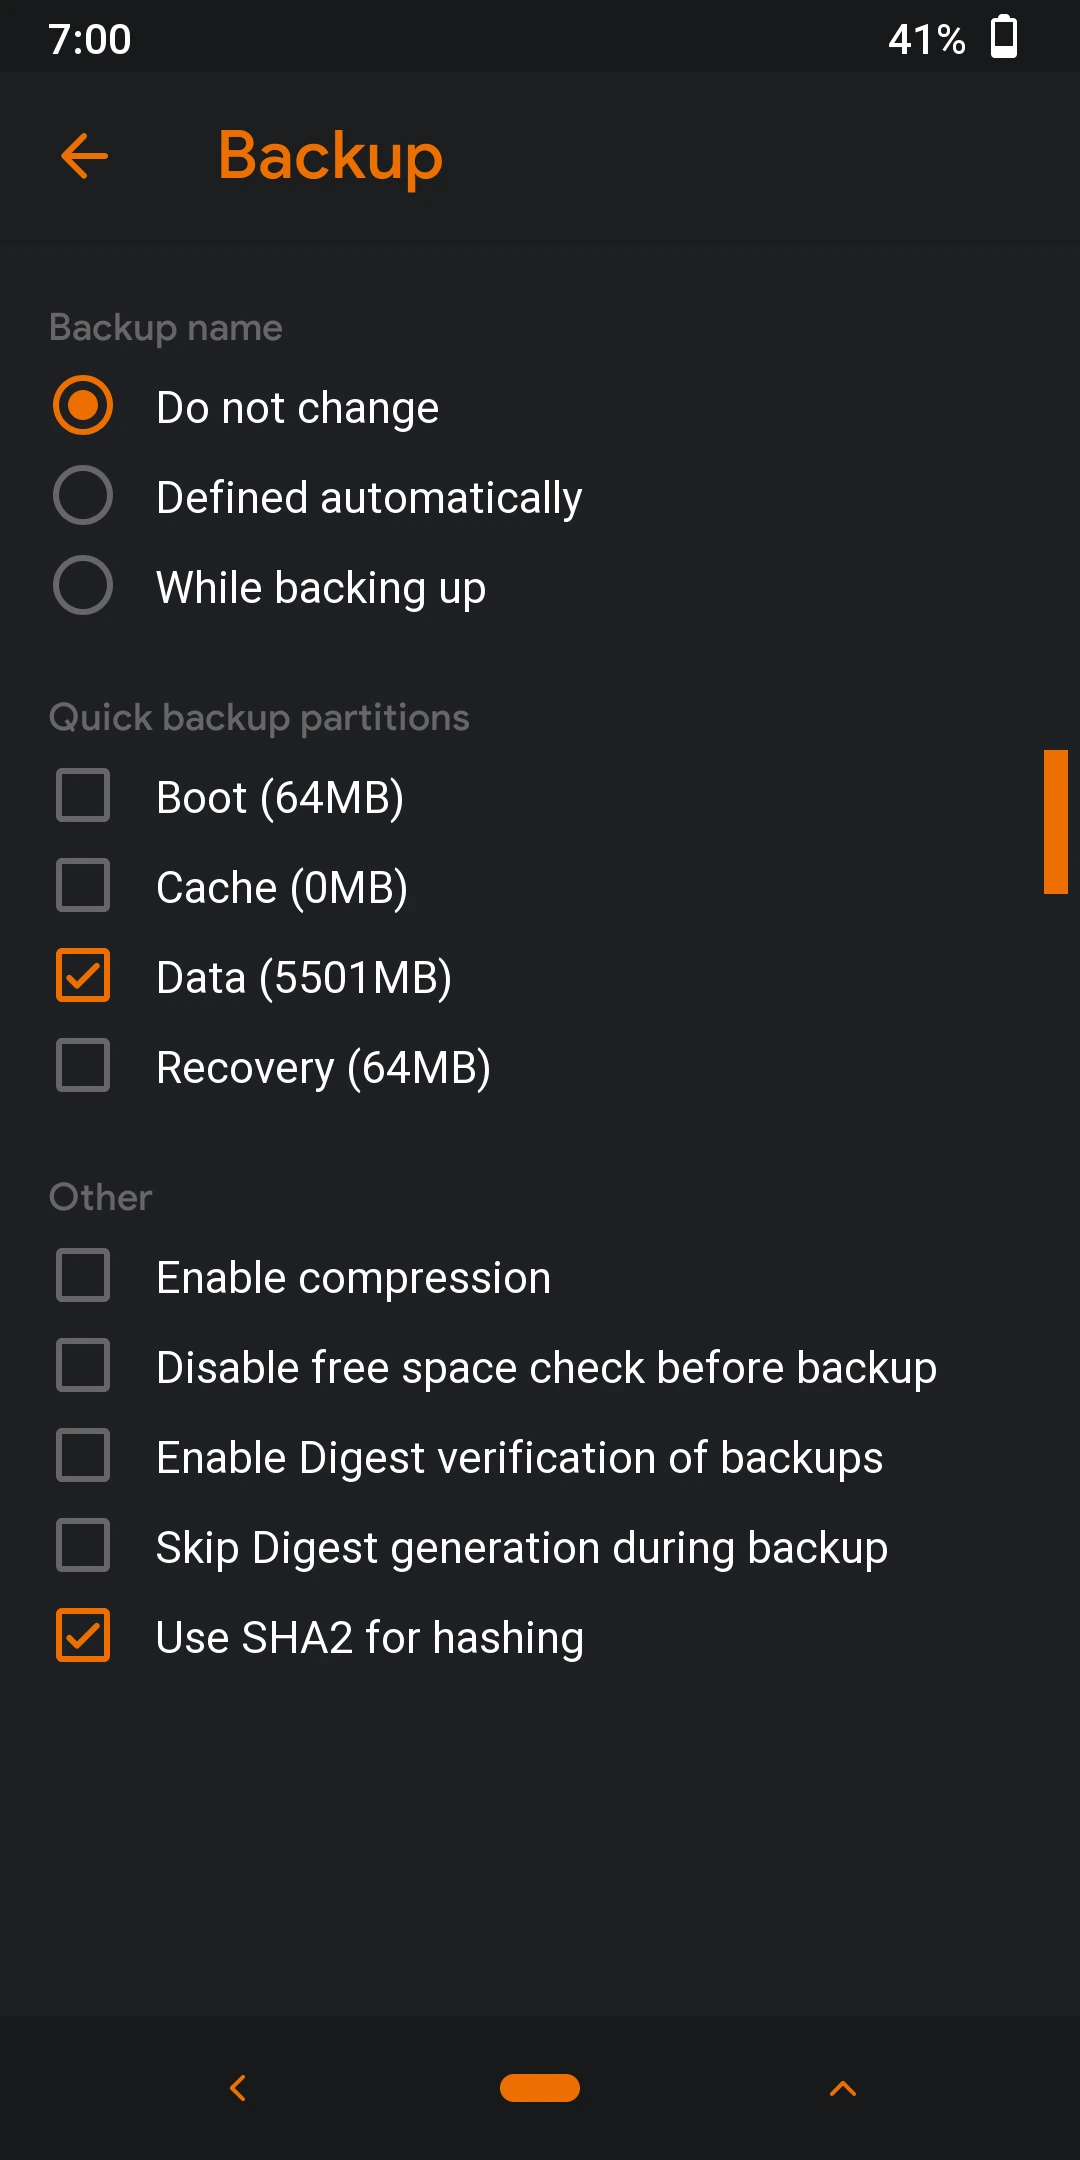
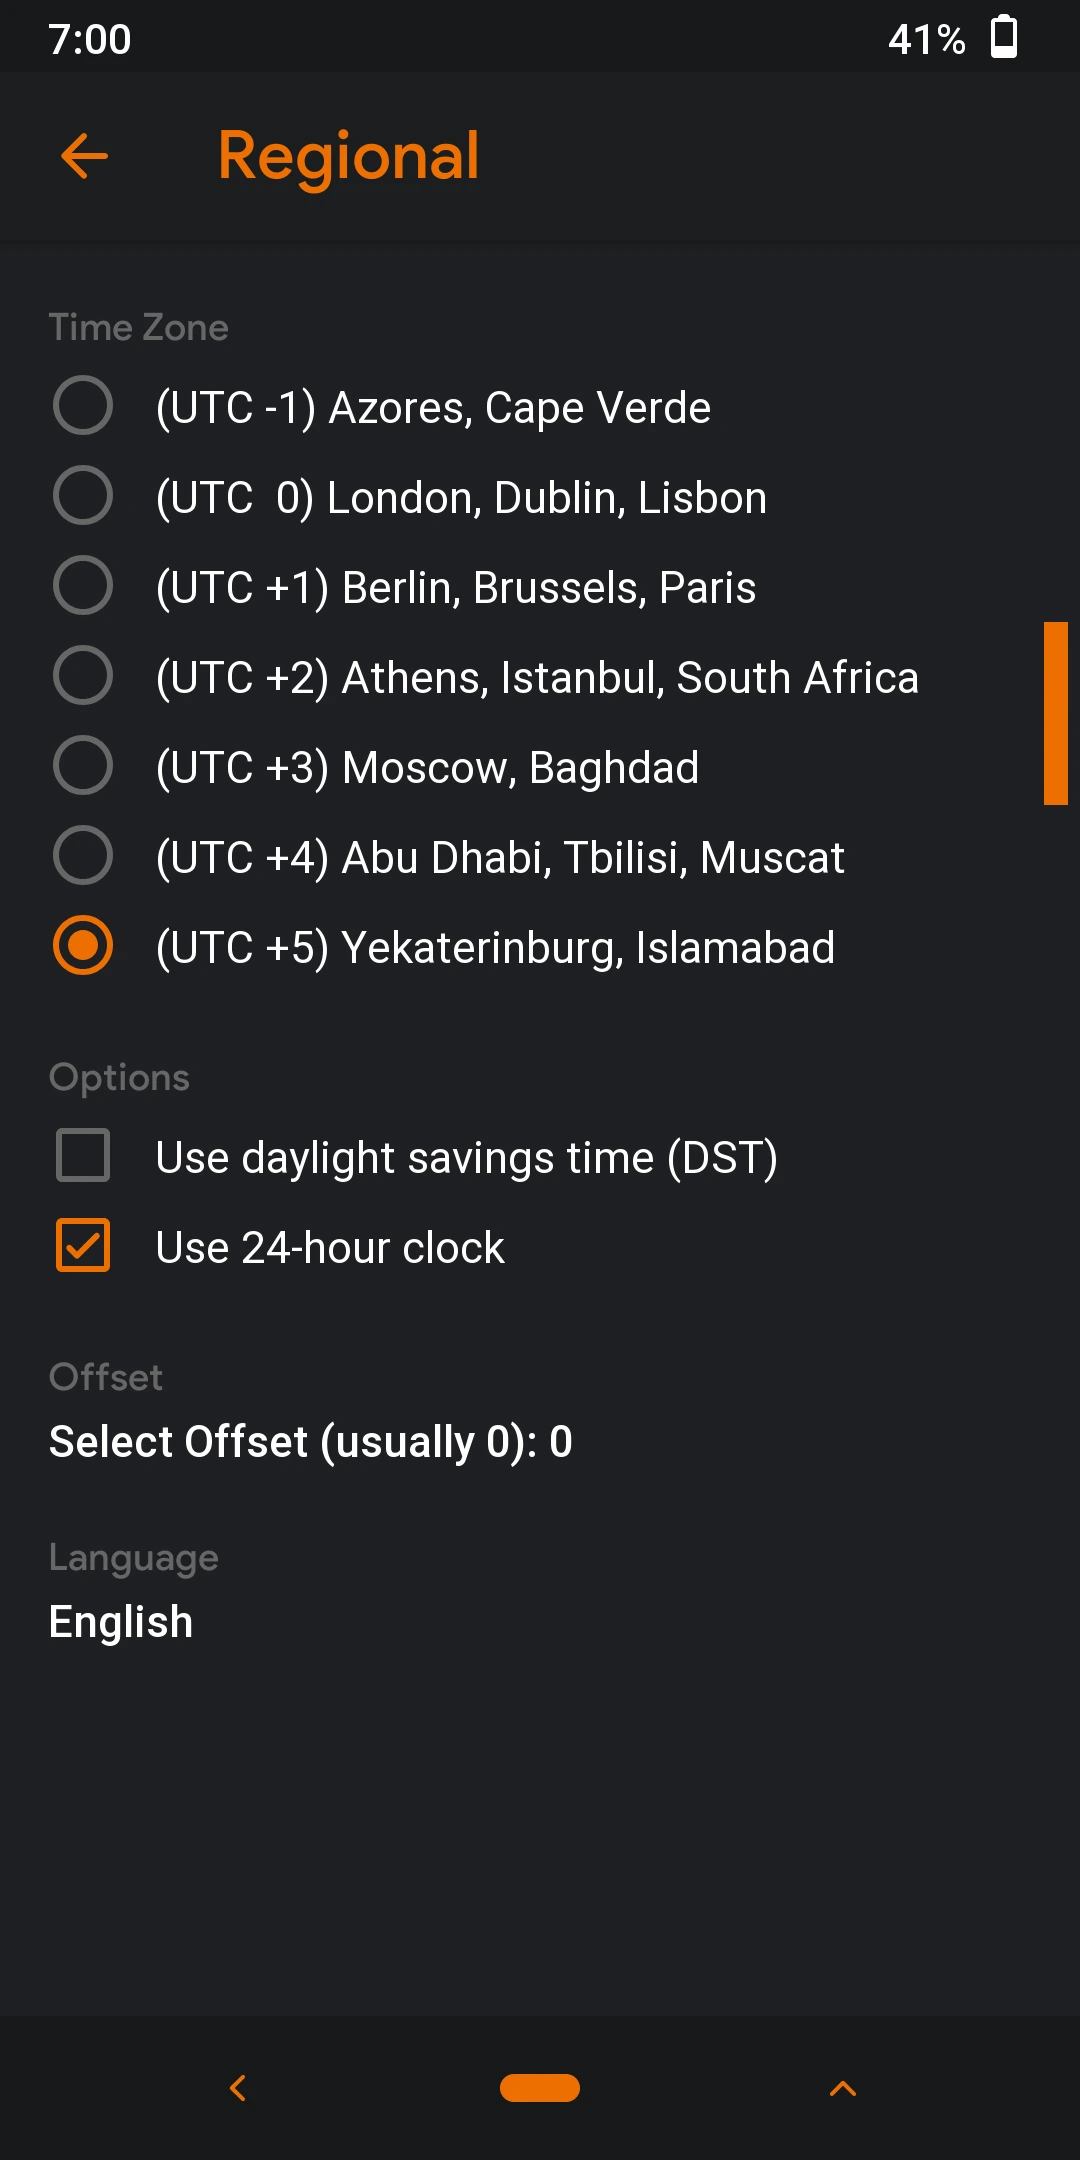
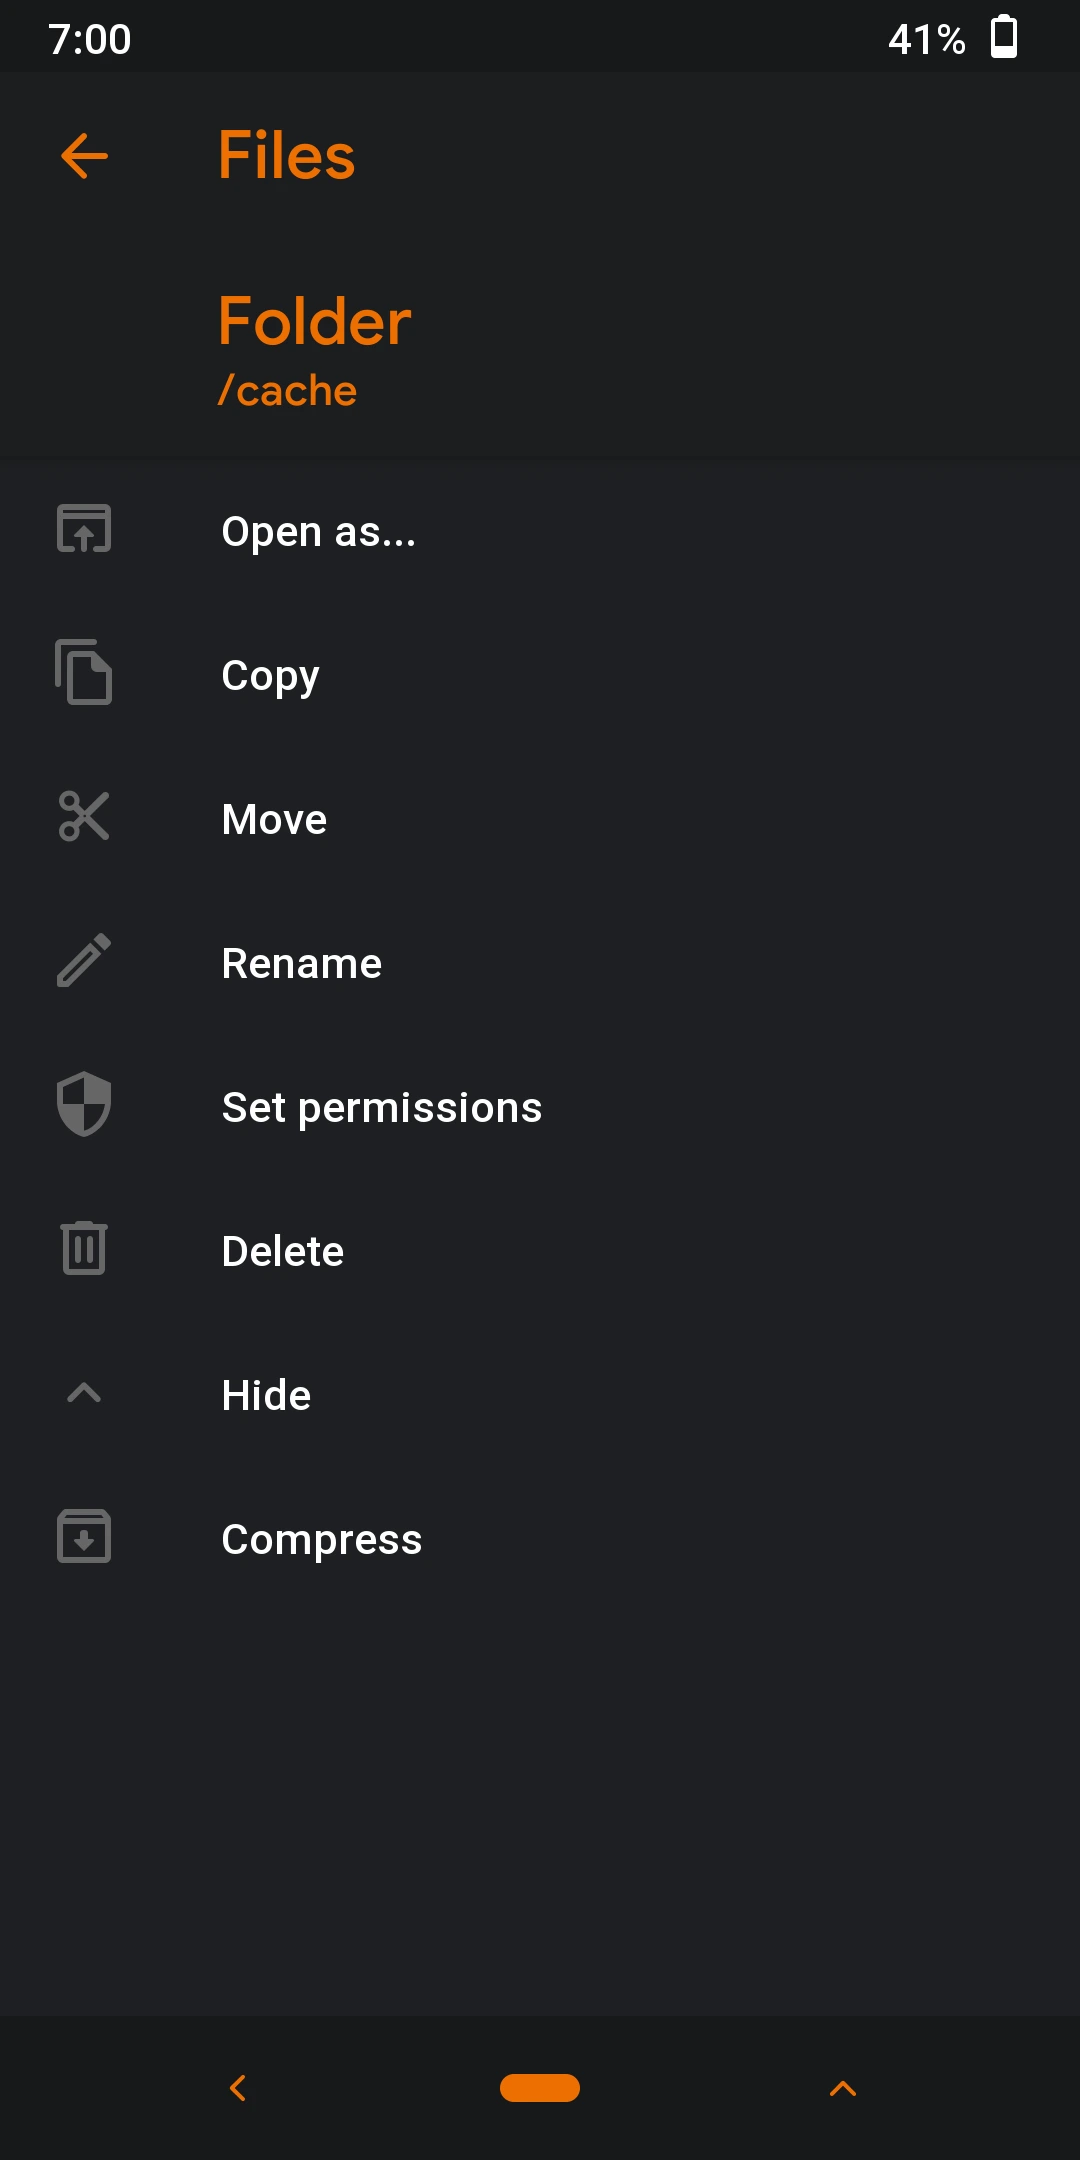
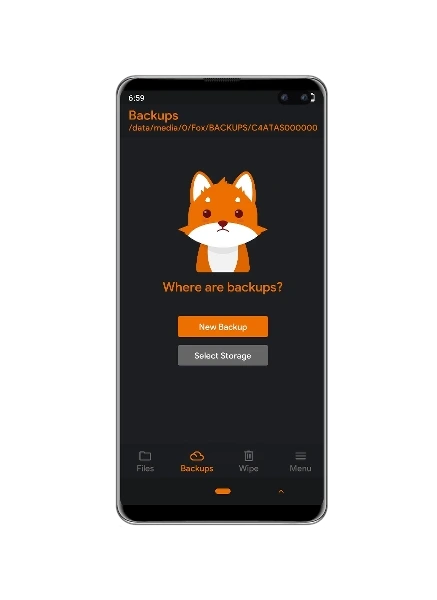
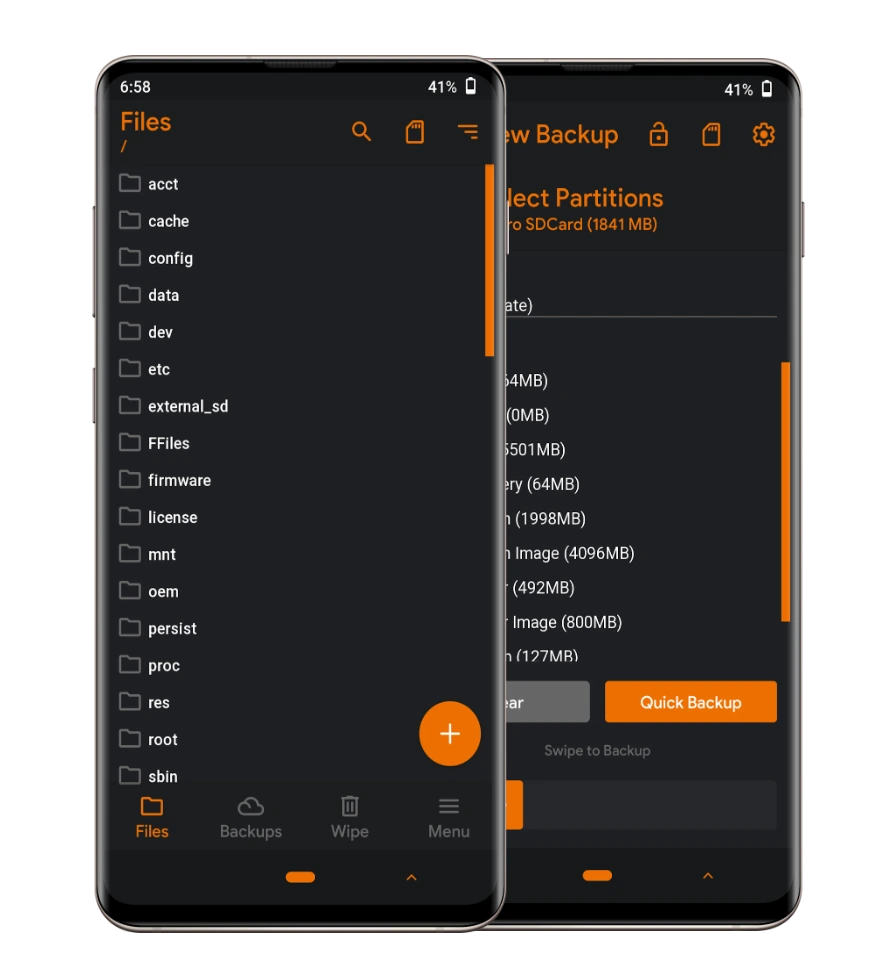
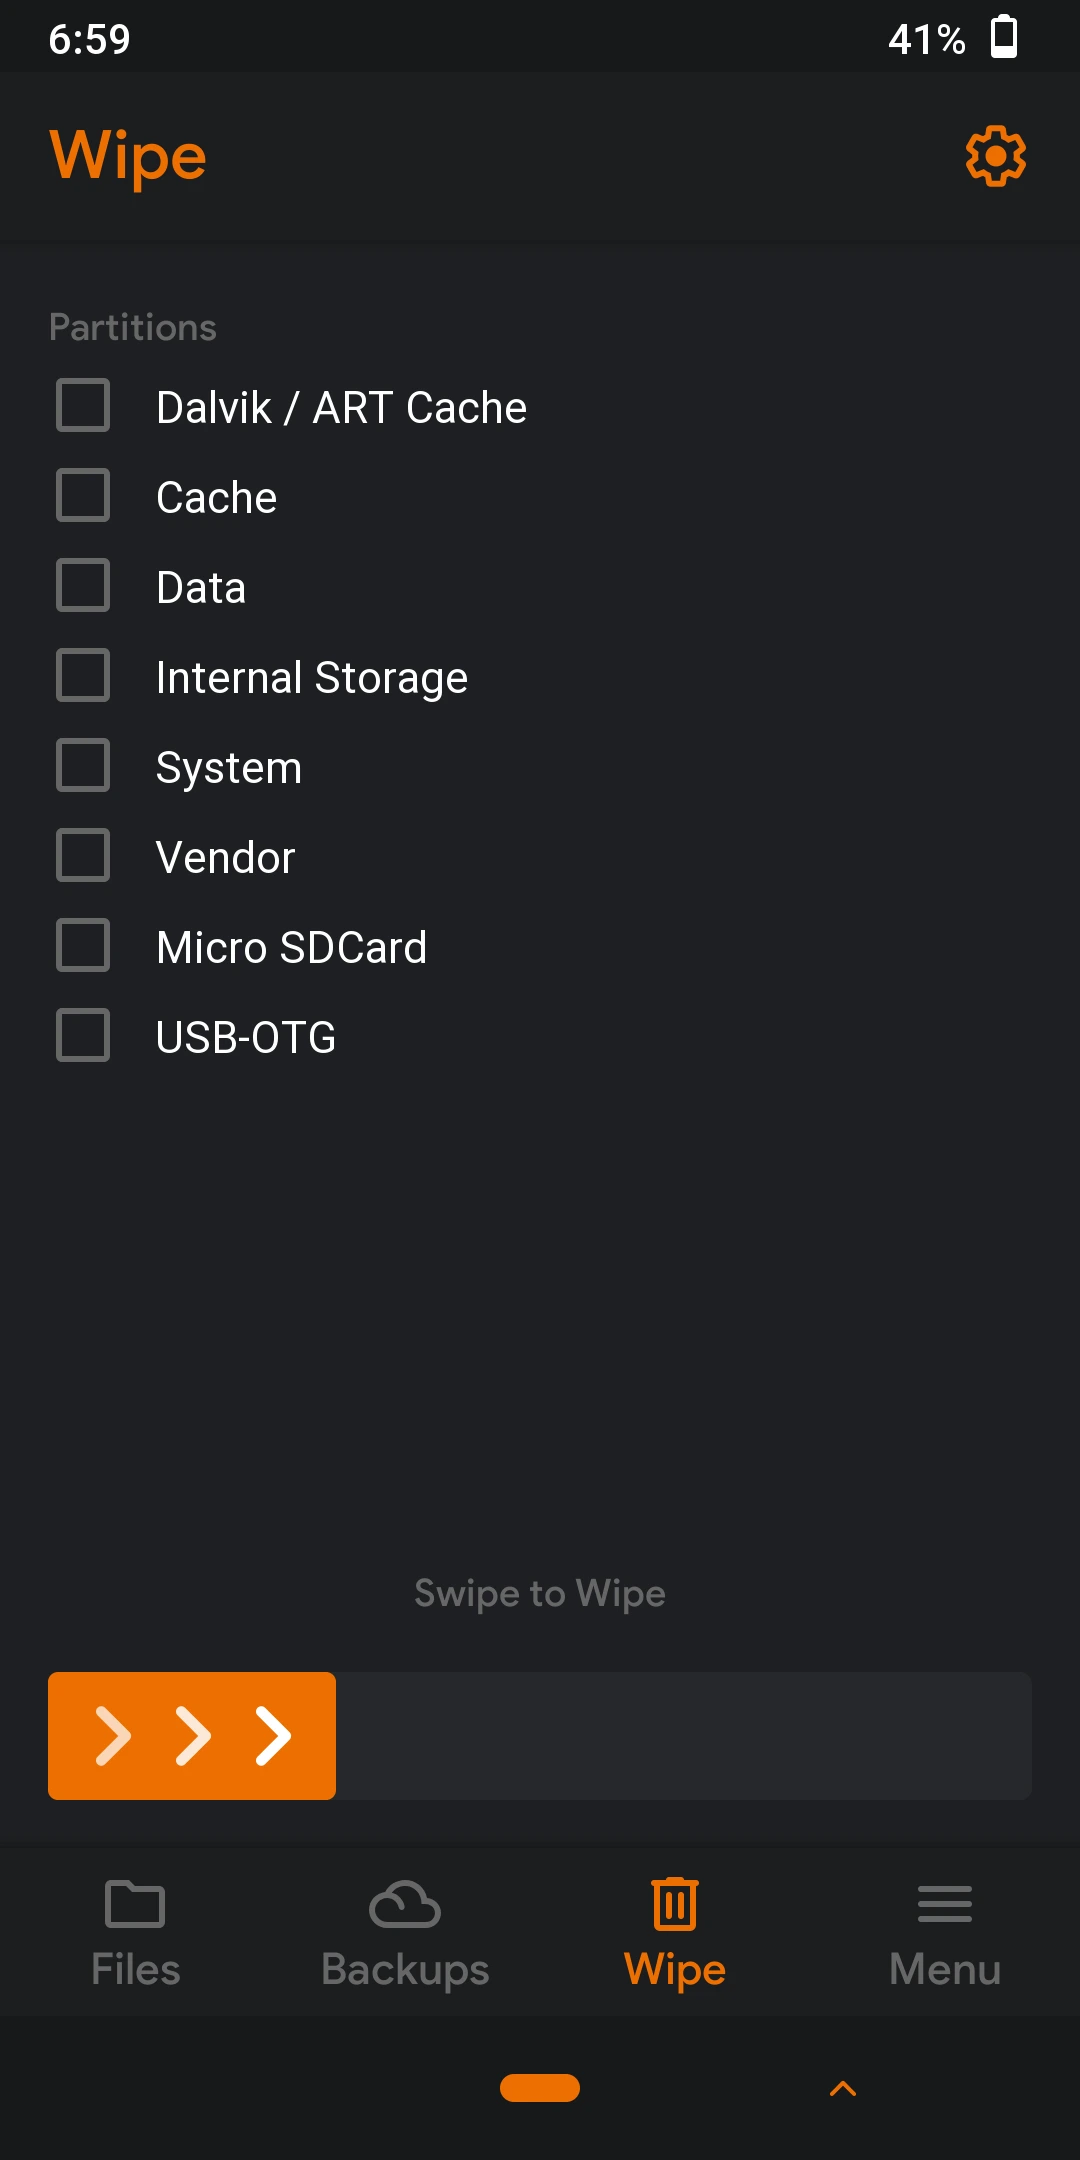
OFRP SCREENSHOT

Orange Fox Recovery Project (OFRP) - a fork of TWRP - replaces the stock recovery on Android devices with a feature rich custom recovery e.g hardware button-based GUI controls
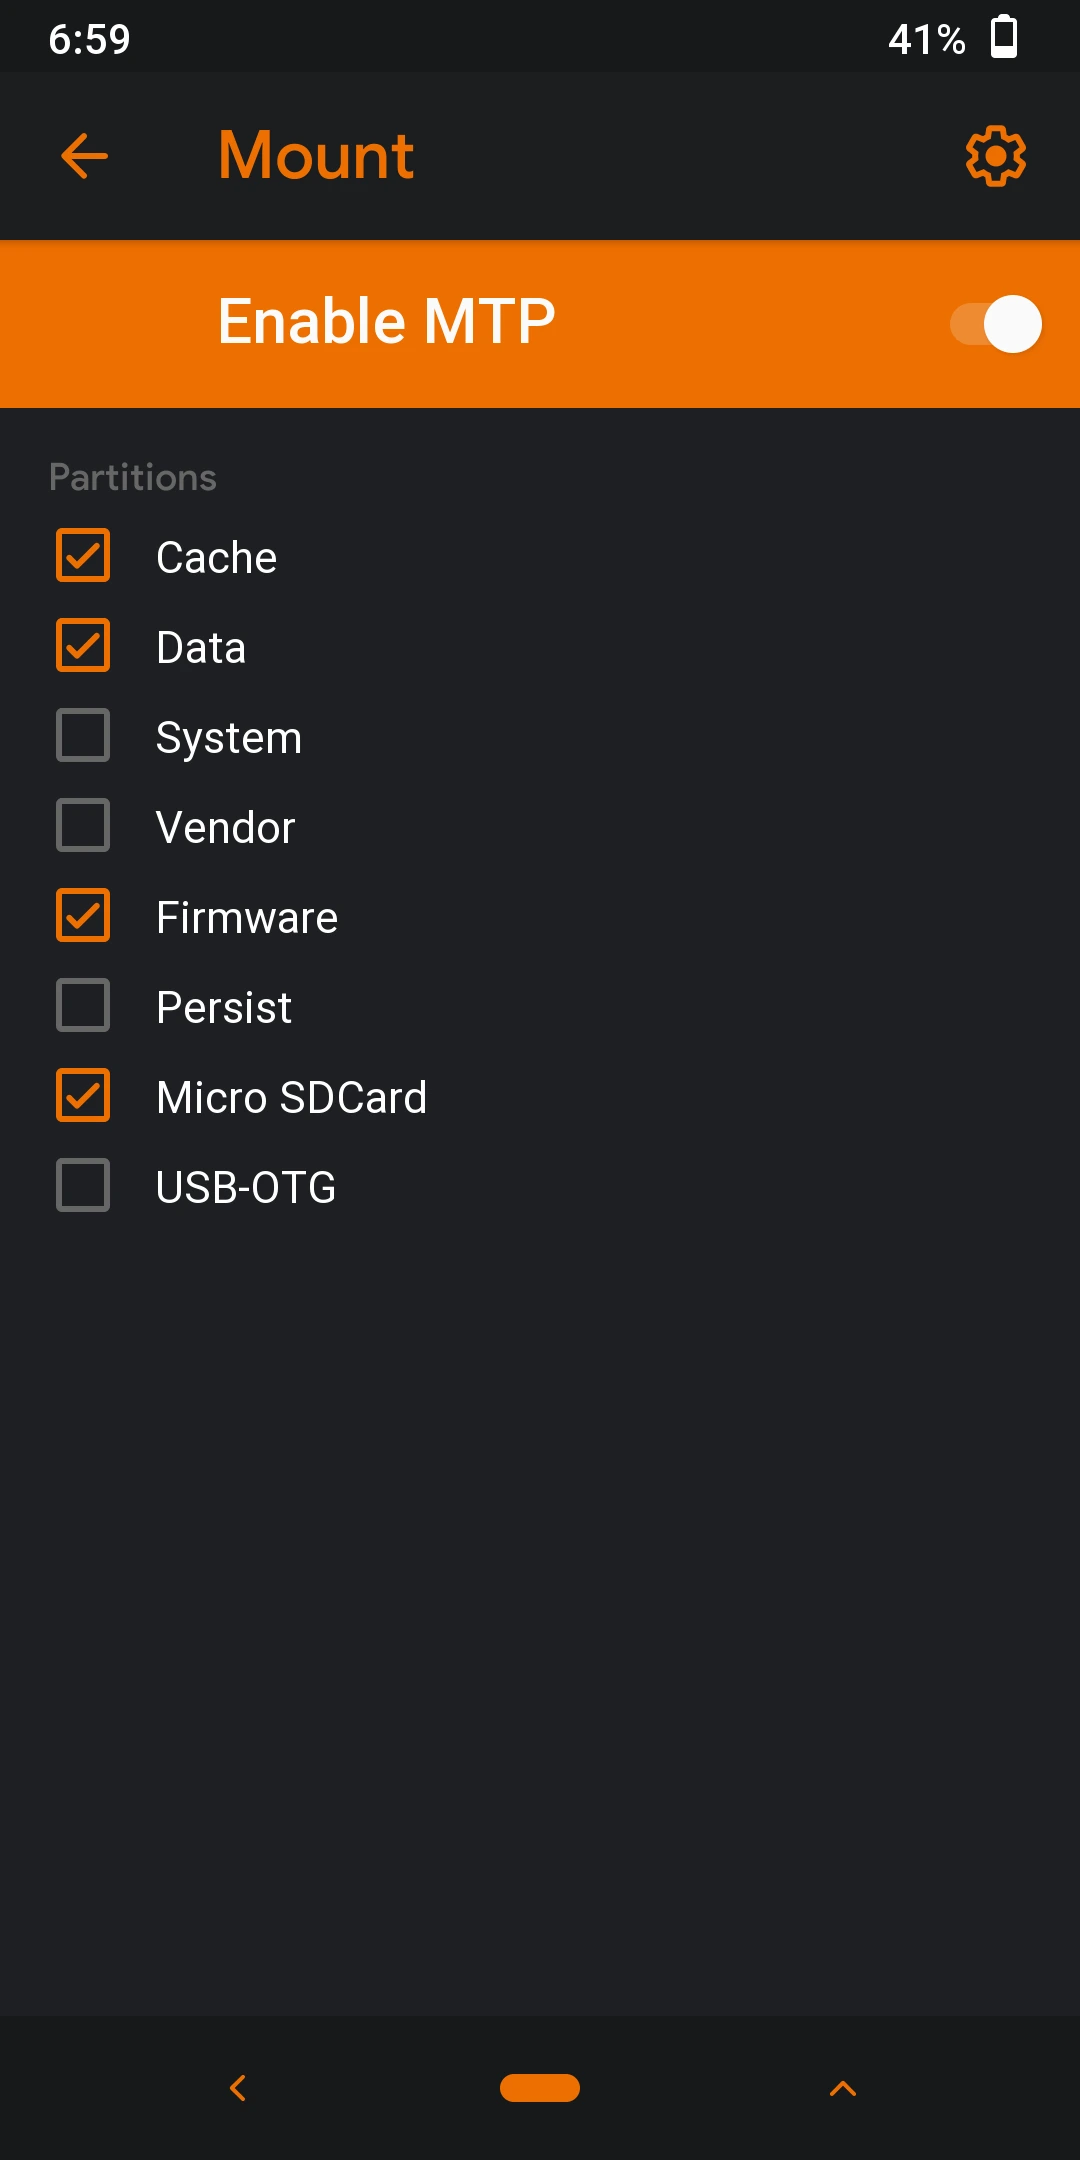
OFRP screenshot img
OFRP screenshot img
OFRP screenshot img
OFRP screenshot img
OFRP screenshot img
OFRP screenshot img
OFRP screenshot img
OFRP screenshot img
OFRP screenshot img
OFRP screenshot img
OFRP screenshot img
OFRP screenshot img
OFRP screenshot img
OFRP screenshot img
OFRP screenshot img
OFRP screenshot img
OFRP screenshot img
OFRP screenshot img

BUILD OFRP FOR YOUR DEVICE

Choose your image type, Android version and upload

Screen Resolution
X
Touch Driver(s) (optional)
Reduce OFRP Size? (optional)
TWRP Flags (optional)
OFRP Flags (optional)
Upload 0% Cancel
Loaded/Total Mbps Time Left

1
2
3

Check your build status

Track your build progress

Mediatek Course Mediatek Course

    Donate
    PayPal: https://www.paypal.com/donate/?hosted_button_id=PFDZMYT8DFDQJ
    USDT(BNB): 0x44d23Bf71D397060CF04Ec1014b32e43bb63Dd5c
    FAQ

    Common questions

    It currently supports Android 12. and above.

    You need the stock recovery.img, boot.img or vendor_boot.img depending on your device.

    The sections to take note of are:


    Image Type (required): You can choose recovery.img, boot.img or boot.img + vendor_boot.img depending on the stock files you wish to use. See the "Which image type should I choose" section below

    Android Version (required): Out tool currently supports Android 9-14

    Touch drivers (optional): This is for users who have touch screen not working issues on the built OFRP. See the "Touch is not working" section below.

    Reduce OFRP size (optional): If the built OFRP is too large then set this to yes when rebulding else just leave the default.

    TWRP & OFRP flags (optional): These enable you to add custom flags to your device tree. You can request more flags to be added to our list.

    Upload: The files you could possibly upload are boot.img, recovery.img, vendor_boot.img and patch.zip (ensure to maintain these file names). If you wish to upload multiple files, you select them all at once.


    What is patch.zip and how do I create it?
    This file is for users who wish to upload custom files or folders to the recovery > root folder in the device tree. Lets say you wish to fix touch issues by adding a vendor folder to the recovery > root folder. You simply zip the vendor folder, name it patch.zip then select it also when uploading your stock file(s) for build. Its important to keep this file as small as possible so your OFRP doesn't get too large.

    You will receive a Work ID after successfully submitting your boot or recovery image. Tap the clipboard icon to copy it. Scroll down to the "Track your build progress" section, enter your Work ID and submit.

    See the "Which image type should I choose" section. If the error persists then please post this issue at our Forum. Ensure to include a link to the boot or recovery image which you used.

    Please send us a message using one of our many contact options. Ensure to include your Work ID and a link to the boot or recovery image which you used.

    This builds OFRP recovery from source first by creating your device tree then using it to build from OFRP source.

    Note: Orange Fox Recovery has the HW GUI Control feature which enables you to use volume buttons for navigation where touch doesn't work so consider this.

    If you observe that touch isn't working in your OFRP then you need to retry and ensure to supply the name(s) of your touch driver(s) along with a correspodning patch.zip (see the patch.zip section) which contains the touch driver file(s) in the right directories. Ensure to seprate the driver names by space if your device has more than one driver e.g
    chipone_fp.ko icnl9916-tddi.ko

    To get the names of your touch drivers, install Device Info HW, launch and look under General > Touchscreen.
    Note: The driver name you obtain in Device Info HW might not match the driver file name exactly but it'll give you an idea which .ko files to look out for.

    Method 1: vendor > firmware > touch driver

    Lets assume the touch driver is named EPH8613_Pixel4xl_fw.bin and is located in the vendor > firmware directory, you create a patch.zip with this file structure:

    patch.zip > vendor > firmware > EPH8613_Pixel4xl_fw.bin


    Method 2 (usually if you choose boot.img + vendor_boot.img): modules > touch driver

    Let's say you have identified touch driver files as chipone_fp.ko and icnl9916-tddi.ko and they are located in the following directories:

    lib/modules

    vendor/lib/modules

    vendor_dlkm/lib/modules


    You input chipone_fp.ko icnl9916-tddi.ko under touch drivers then create a patch.zip with the following structure

    patch.zip

    lib/modules/chipone_fp.ko

    lib/modules/icnl9916-tddi.ko

    vendor/lib/modules/chipone_fp.ko

    vendor/lib/modules/icnl9916-tddi.ko

    vendor_dlkm/lib/modules/chipone_fp.ko

    vendor_dlkm/lib/modules/icnl9916-tddi.ko


    Note: You must upload the patch.zip along with your images(s) in our tool (you select all files at once)

    Check your device's official firmware and follow the order below:
    If you find recovery.img then choose recovery.img and upload the file.
    If you don't find recovery.img (or it fails) but find boot.img then choose boot.img and upload the file.
    If choosing boot.img fails and you have vendor_boot.img then choose boot.img+vendor_boot.img and select both files at once when uploading.

    If you get stuck in fastboot after flashing OFRP then run the command fastboot reboot fastboot . If this doesn't get you into OFRP then flash back the stock image (i.e boot, recovery or vendor_boot) used to build OFRP

    For recovery.img and vendor_boot.img, you flash the recovery.img to the recovery partition or vendor_boot.img to the vendor_boot partition in fastboot / fastbootD and power off then boot into recovery mode using button combo (Volume up + Power).
    For boot.img, you boot OFRP using the command fastboot boot boot.img. Once in OFRP, you patch the ramdisk.

    If the built OFRP is too large (size too large in fastboot) then repeat the process but choose yes under Reduce OFRP Size? (optional)

    This tends to happen when you flash OFRP to the boot partition or wipe data in OFRP which then requires a stock recovery or vendor_boot to complete. Flash back your stock image.

    This is due to screen timeout. You can disable this to prevent it from reoccuring or avoid letting OFRP to sleep or lock (due to inactivity) or switch HW GUI control mode

    SD card: Yes
    OTG: Yes. If its not detected when you connect then press the power button to trigger the lock screen or keep tapping buttons on the screen if you have touch. The OTG device should eventually show up.
    Encryption: Not yet. We're working on a way to automate this process. You could flash DFE Neo v2 in OFRP to disable forced encryption or manually modify the fstab file

    This means you need to take one more step before flashing the OFRP. You need to:
    • 1. Unpack the OFRP image using Android Image Kitchen
    • 2. Unpack the Stock image (same image type as the OFRP) using Android Image Kitchen
    • 3. Copy the following from Stock split_img to OFRP split_img (* could be vendor_boot, recovery or boot):
      • *.img-base
      • *.img-board
      • *.img-dtb_offset
      • *.img-kernel_offset
      • *.img-ramdisk_offset
      • *.img-tags_offset
    • 4. Repack the OFRP and flash

    You need to make a few modifications to the recovery_ramdisk image after unpacking using Android Image Kitchen namely

    • 1. Add values for ro.product.board and ro.board.platform to the prop.default
    • 2. Unpack the other images (with recovery or kernel in the name) in Android Image Kitchen and search for recovery.fstab. Copy this fstab file to ramdisk > system > etc
    • 3. Repack the image and use our tool again

    • Install 7zip
    • Right-click the OFRP and select 7-zip > Add to archive
    • Change Archive format to tar
    • Click OK

    Please contact us by clicking the chat bubble at the bottom-right corner. Ensure to state the issue clearly, mention your device model, Android version and provide a link to your boot or recovery image.

    This might be an issue with the idProduct values in the init.recovery.usb.rc or init.rc file(s). Check the entries for ADB only, MTP only and ADB+MTP and update the idProduct values accordingly:
    • ADB only: 0xd001
    • MTP only: 0x4EE0
    • MTP + ADB: 0x4EE1
    WhTlYt