[Tutorial] How to Make a Bootable USB To Update or Flash Dell Computer BIOS
[Tutorial] How to Make a Bootable USB To Update or Flash Dell Computer BIOS

25-03-2017, 10:45 AM
This guide teaches how to Make a Bootable USB Flash Drive to Flash/Update your Pc BIOS, Flashing the BIOS can correct bugs or compatibility that have been discovered - this will generally increase system stability. In some cases, flashing the BIOS will even give performance increases.
Requirements
- USB Flash Drive
- Dell Diagnostic Deployment Package http://drive.google.com/open?id=0B5KEw5Q...UR2Zm9EbFk
Steps to Make a Bootable BIOS USB Flash
- Download the Dell Diagnostic Deployment Package (DDDP).
- Navigate to the folder that DDDP was Downloaded (Default Location: C:\Dell\Download\), Copy the File and Create a New Folder Then Paste inside

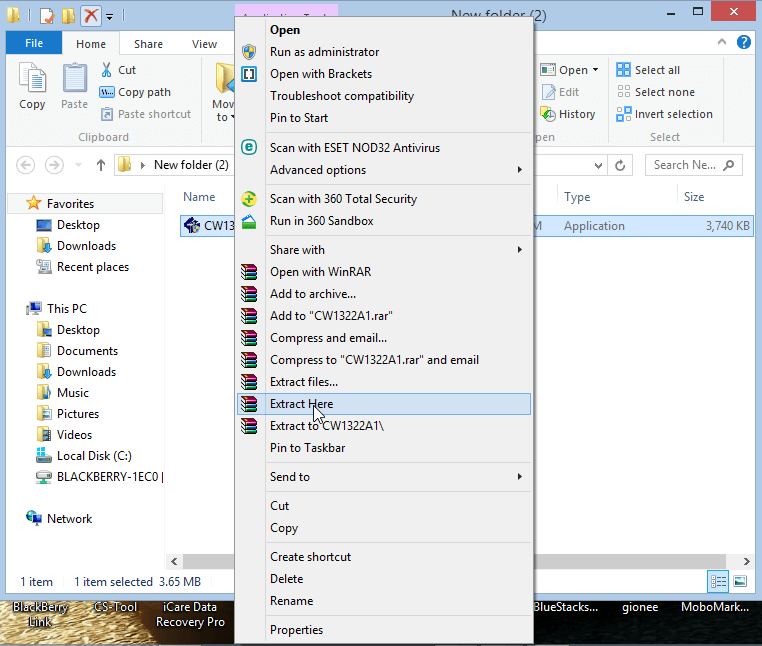
- Right Click on CW1322A1.exe Click on Extract Here, make sure you have WinRar installed on your PC.
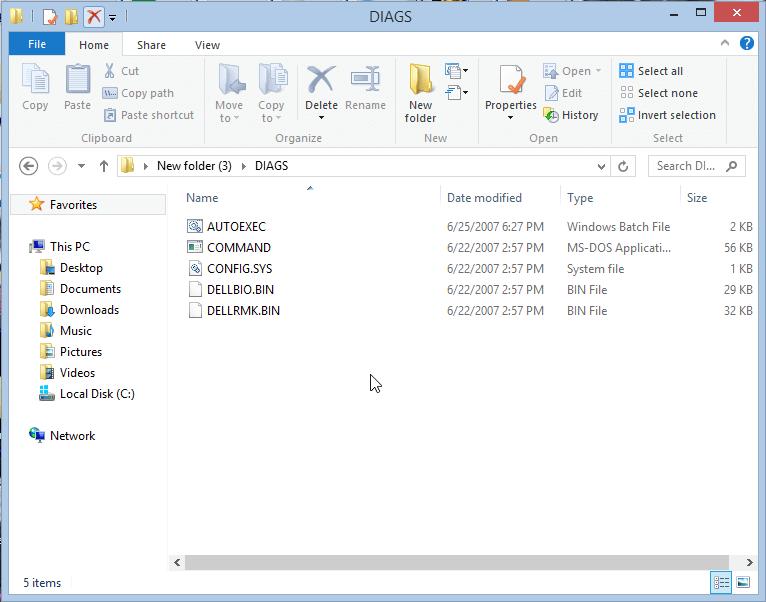
- Open the DIAGS directory and remove everything, Except for the following:
COMMAND.COM
DELLBIO.BIN
DELLRMK.BIN
AUTOEXEC.BAT
CONFIG.SYS

- Look at the Below Image
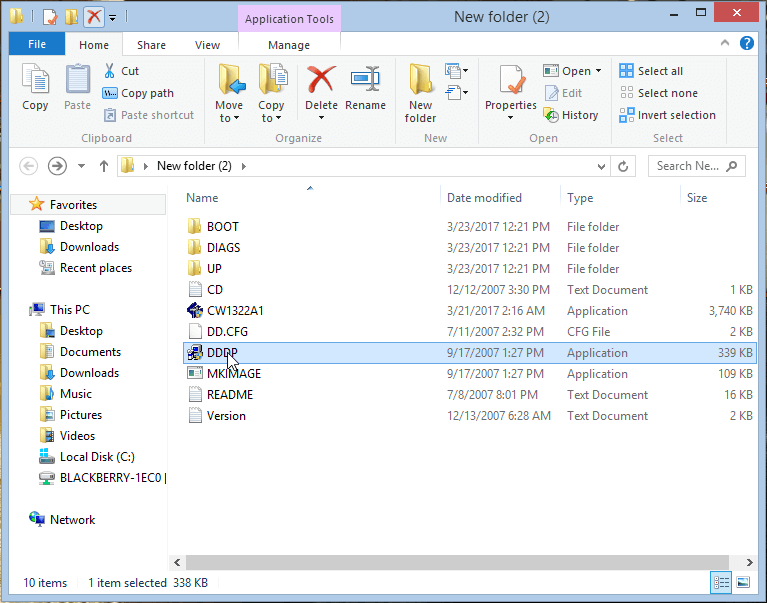
- Navigate to the New Folder you have created where CW1322A1.exe was extracted and double click on the application DDDP.exe
- Insert a USB Flash Drive and Run the DDDP utility and choose "Install to a USB flash drive". This will make the USB Flash Drive bootable.
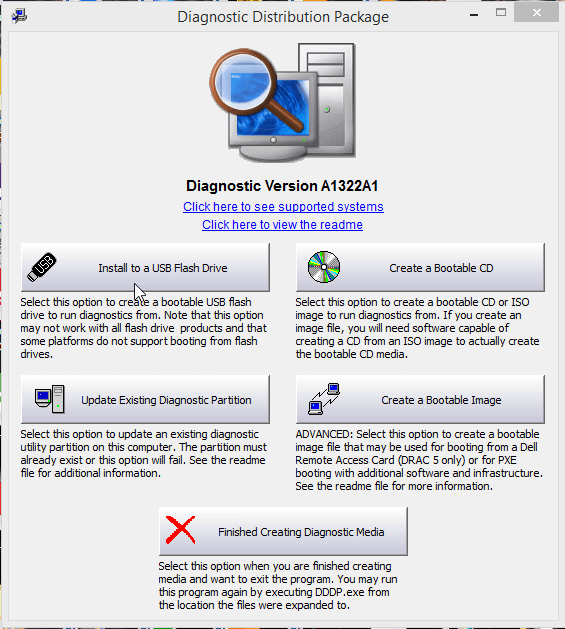
- Select the Flash drive you want to use from the Drop Down menu and Click OK
Warning: This will remove all data from the USB memory stick.
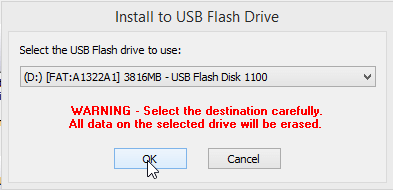
- After Selecting your USB Flash Disk wait for the Process to Complete, Process will take 15-30s to complete then you will see Success Message will pop-up then Click OK.

That's all for Making Bootable USB to Flash BIOS
This post was last modified: 06-10-2019, 02:41 PM by xerxes.
Users browsing this thread:
1 Guest(s)
1 Guest(s)
Users browsing this thread:
1 Guest(s)
1 Guest(s)


